 Passport Photo Lab
12 Things You Can Do in Under 3 Minutes to Look Good on a Passport Photo (Professional Micro-Pose Tips)


Have you ever had an ID photo you didn’t like?
I indeed used to hate the way I looked in my passport photo, so I can completely relate.
That is why I decided to collect tips from industry-leading professional photographers. I have reduced the recommendations to an actionable list that everyone can apply. The best part is, you don’t need any professional equipment!
Passport photos are strictly regulated. However, there’s still surprisingly a lot you can do to change your appearance while remaining within the guidelines.
Here are the tips you’ll learn in this post:
- Push Your Head Forwards to Get a Jawline
- Stop Forcing Your Eyes Open and Raise Your Lower Lids
- Fix Your Posture In 2 Seconds by Taking a Big Breath
- Avoid the Mug Shot-Look by Smiling Slightly
- Look Fresh by Taking the Photo After Your Fitness Session
- Use Makeup
- Use a Mirror and Check Your Hair
- Use Flattering Natural Lighting
- Practice Makes Perfect
- Take Many Photos to Choose from
- Wear a Clean, Non-White Shirt With a Nice Collar
- Don’t Wear Glasses or a Hat
Let’s dive right in!
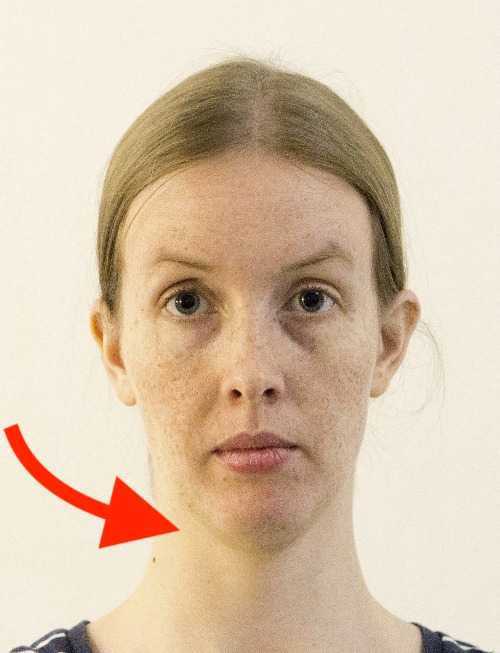
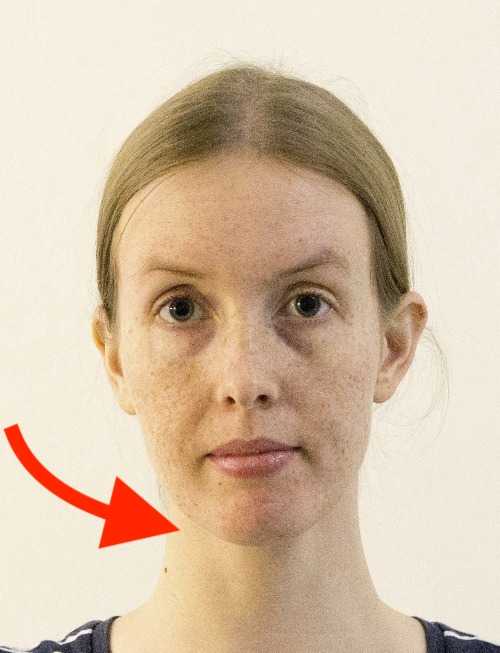
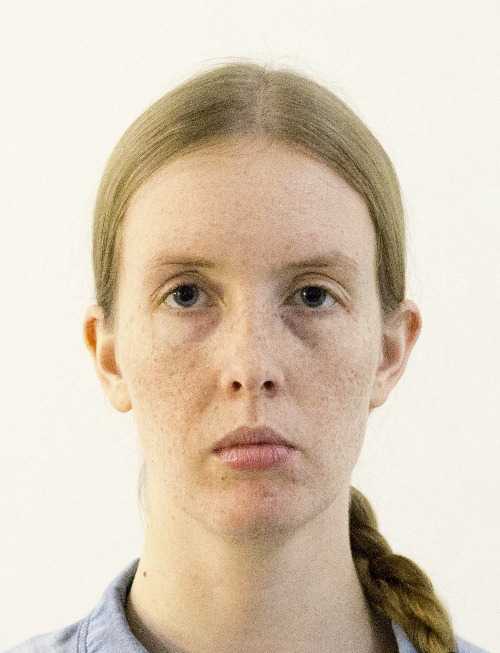
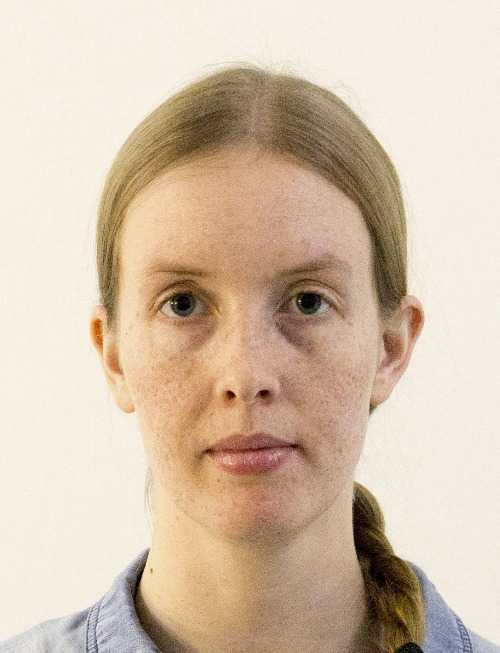
Push Your Head Forwards to Get a Jawline
Below, you can see a couple of examples.
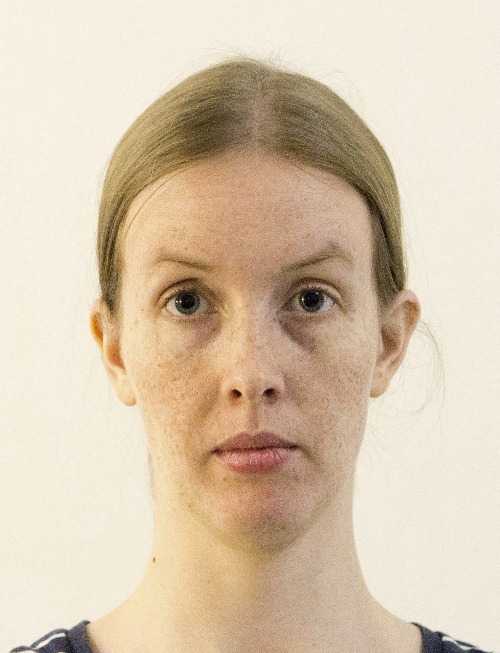

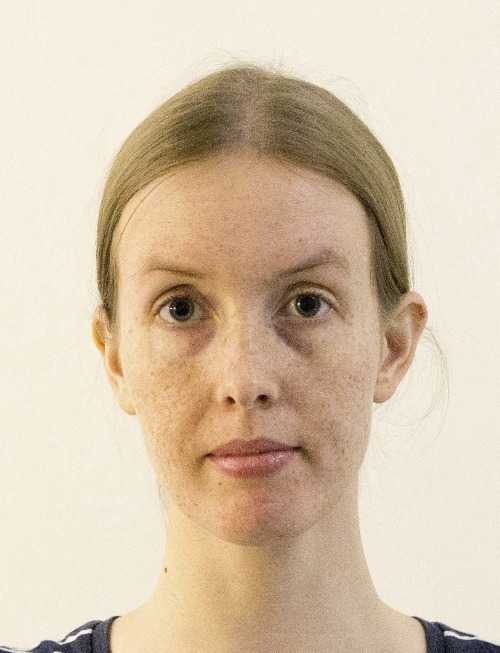
Compare the jawline in the top and bottom row. In the bottom row, the model pushes her head slightly forwards. As a result, the jawline is more pronounced.
The jawline plays a massive role in how you look in a photo. An unclear jawline in a picture is very unflattering.
In real life, our stereo vision and the fact that people are always moving around help us distinguish edges.
In a still, 2D photo, we don’t have many natural aids for distinguishing 3D shapes and edges, such as jaws. That’s why, in pictures, the jawline must be represented solely with color contrast, i.e., a shadow or makeup.
Creating a clearer jawline with a pose isn’t cheating. It is as an aid for representing a 3D face on a 2D surface.
One way to form a jawline is by creating a sharp shadow using light coming from above. If additional lights are not available, the model can create the shadow with their pose.
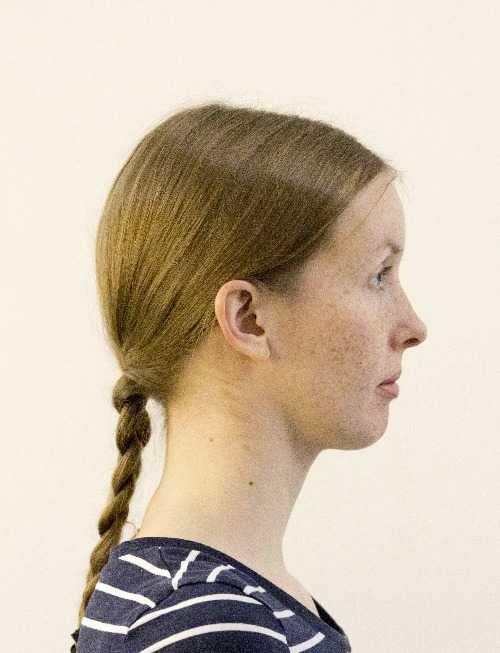
Professional photographers sometimes ask models to push their heads slightly towards the camera. The posture isn’t very natural when seen from the side, but you can’t see the forward lean from the front.
Pushing the head forwards stretches the skin over the jaw. This creates a more pronounced jawline.
I recommend watching Peter Hurley’s excellent video about this technique. The video has lots of photo pair examples.
While this technique is effective, keep in mind that you don’t want to overdo it! Remember, it’s not just about moving the forehead or jaw towards the camera. You must keep your head straight.
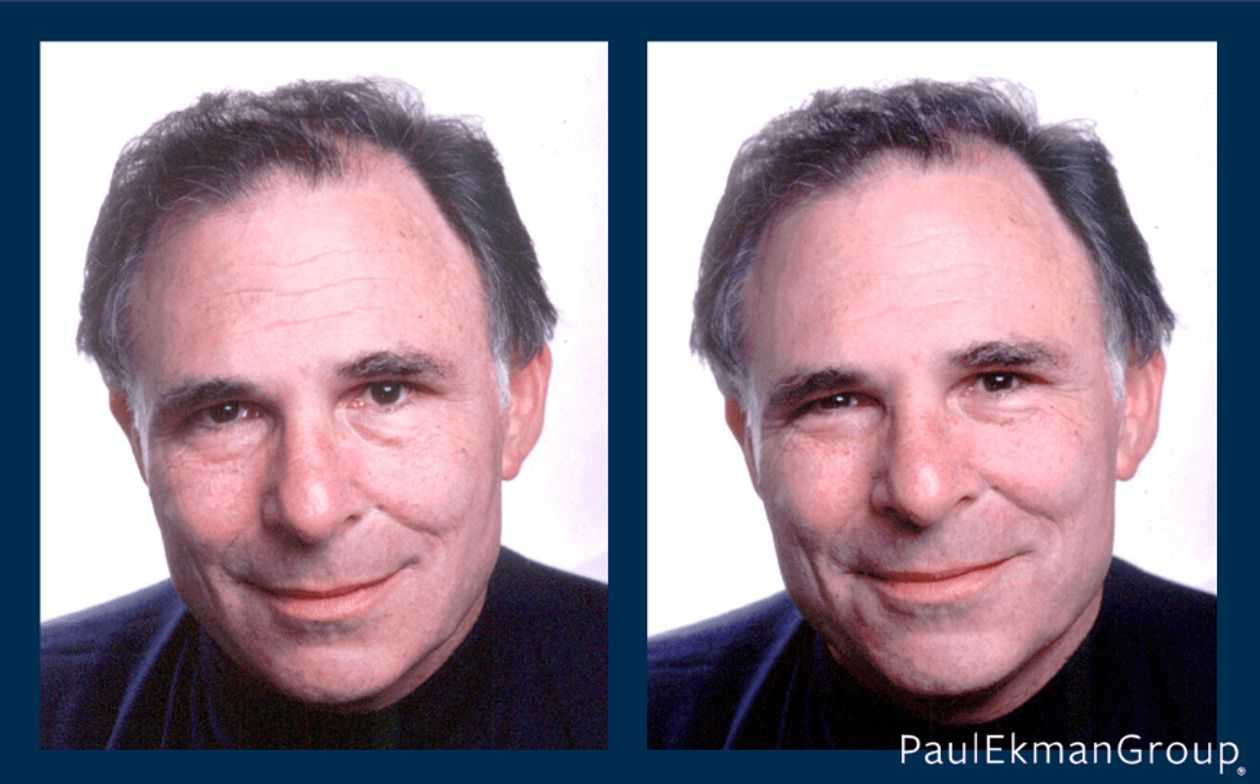
Stop Forcing Your Eyes Open and Raise Your Lower Lids
Here is another trick that professional photographers use:
Your first intuition might be to keep your eyes open. After all, we all know that blinking at the wrong time ruins photos, so we might try to overcompensate.
Some also try to avoid looking tired by concentrating on holding their eyes open.
However, this does not look right in photos. Don’t concentrate on forcing your eyes open! It will make you look like a deer in headlights. Holding eyes open also makes you raise your eyebrows (try it!). Raised eyebrows do not create a very flattering look in a portrait. They indicate being scared or surprised.
Professional photographers sometimes advise their models to squint. Small squinting of the eyes makes the model look more confident. Slightly closed eyes are also a natural part of smiling, so keeping them slightly closed can be quite attractive.
Squinting or slightly closing eyes doesn’t describe the pose accurately. Some call this pose “smiling with your eyes.”
Peter Hurley has a [video demonstrating “squinching”. The video is a part of the same series as Hurley’s jawline video. I highly recommend watching both videos if you’re interested in excellent visual examples.
A cue Hurley uses is “lower lids up.”
Like with the previous jawline trick, don’t overdo it.
Fix Your Posture in 2 Seconds by Taking a Big Breath
You know you should keep a good posture in a photo. Here’s a trick that you probably didn’t know for achieving a great pose in just two seconds!
Take a big breath. This straightens your back and brings your chest forward and your shoulders back.
A passport photo is all about your face. Still, posture plays a role in how you look, even if your shoulders are barely visible.
Avoid the Mug Shot-Look by Smiling Slightly
A passport photo requires a neutral expression. However, neutral doesn’t mean angry or glum! A slight smile is perfectly ok.
Look Fresh by Taking the Photo After Your Fitness Session
Your face and your expression look different when you’re tired compared to when you’re fresh and full of energy. A popular time to take a passport photo is right after work, but this is likely when you look your worst.
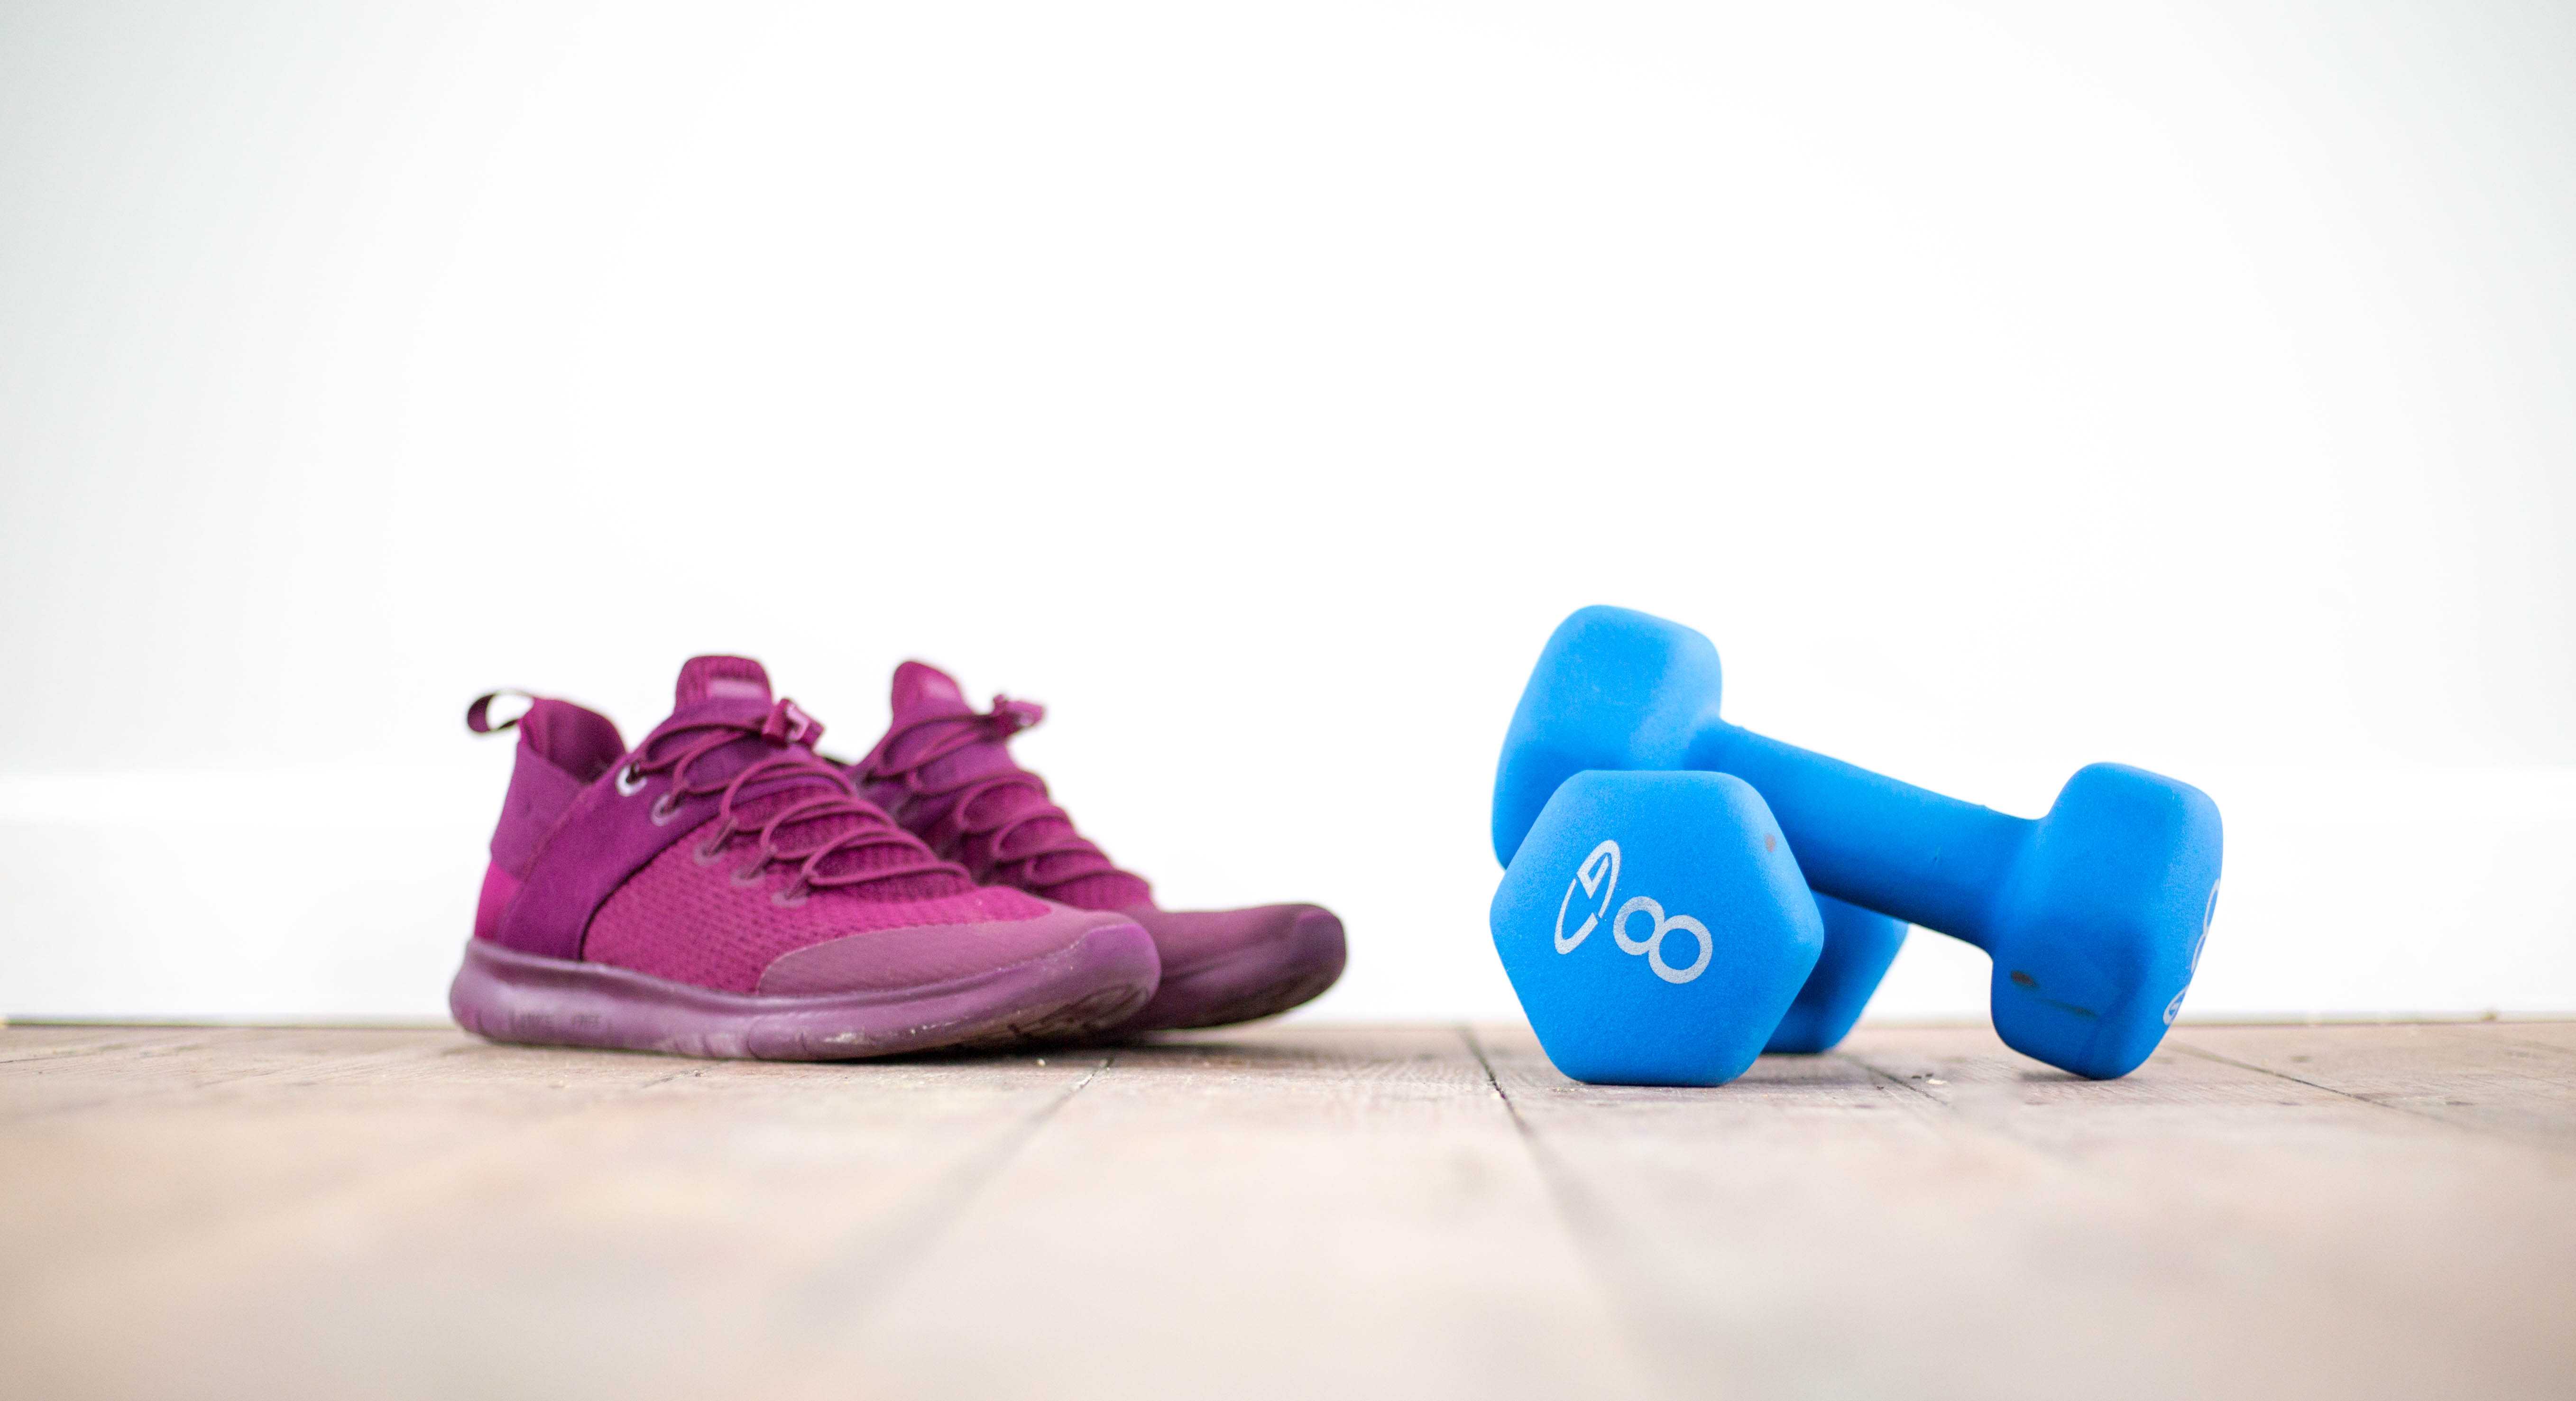
A good trick is to take a passport photo 15 to 30 minutes after your fitness session. You’re still fresh and energetic but not red and sweaty.
Use Makeup
You don’t need to be without makeup in a passport photo. On the contrary, it’s perfectly ok. For example, you can use makeup to highlight your eyes and lips. Just don’t overdo it.
Automatic face recognition isn’t distracted by everyday makeup. If you usually wear makeup, having makeup in your passport photo makes the image more recognizable.
Use a Mirror and Check Your Hair
While practicing your expressions beforehand, you should use a mirror.
Then, before taking your passport photo, you should absolutely use a mirror again. It’s easier to fix a stain on the cheek or bad hair when you know there’s something to fix.
It’s not superficial to take your time with a mirror. Everyone does it; you just haven’t seen it.
Use Flattering Natural Lighting
This tip is for those who plan to take a passport photograph themselves.
Lighting plays a massive role in portrait photography. A quick trick is to favor natural sunlight that is scattered and comes from above.

Read more about lighting from our DIY passport photo article.
Practice Makes Perfect
Even though professional models have a genetic advantage, they still practice a lot. If you want to be good at something, you need to practice it. Looking good in a portrait isn’t an exception.
Of course, you don’t need to become a professional model for your passport photo.
Practicing the tips and tricks in this article for just a few minutes in front of a mirror can make a huge difference.
Take Many Photos to Choose from
If possible, take multiple photos. It’s common in a professional photoshoot to take hundreds of photos to find one good shot.
Plus, taking extra photos helps you practice with expressions, lighting, settings, and so on. This way, you can see what works and what doesn’t.
Wear a Clean, Non-White Shirt With a Nice Collar
In addition to your face, your shirt’s shoulder and collar area are visible in a passport photo. Make sure to pick a clean, smart shirt for your portrait.
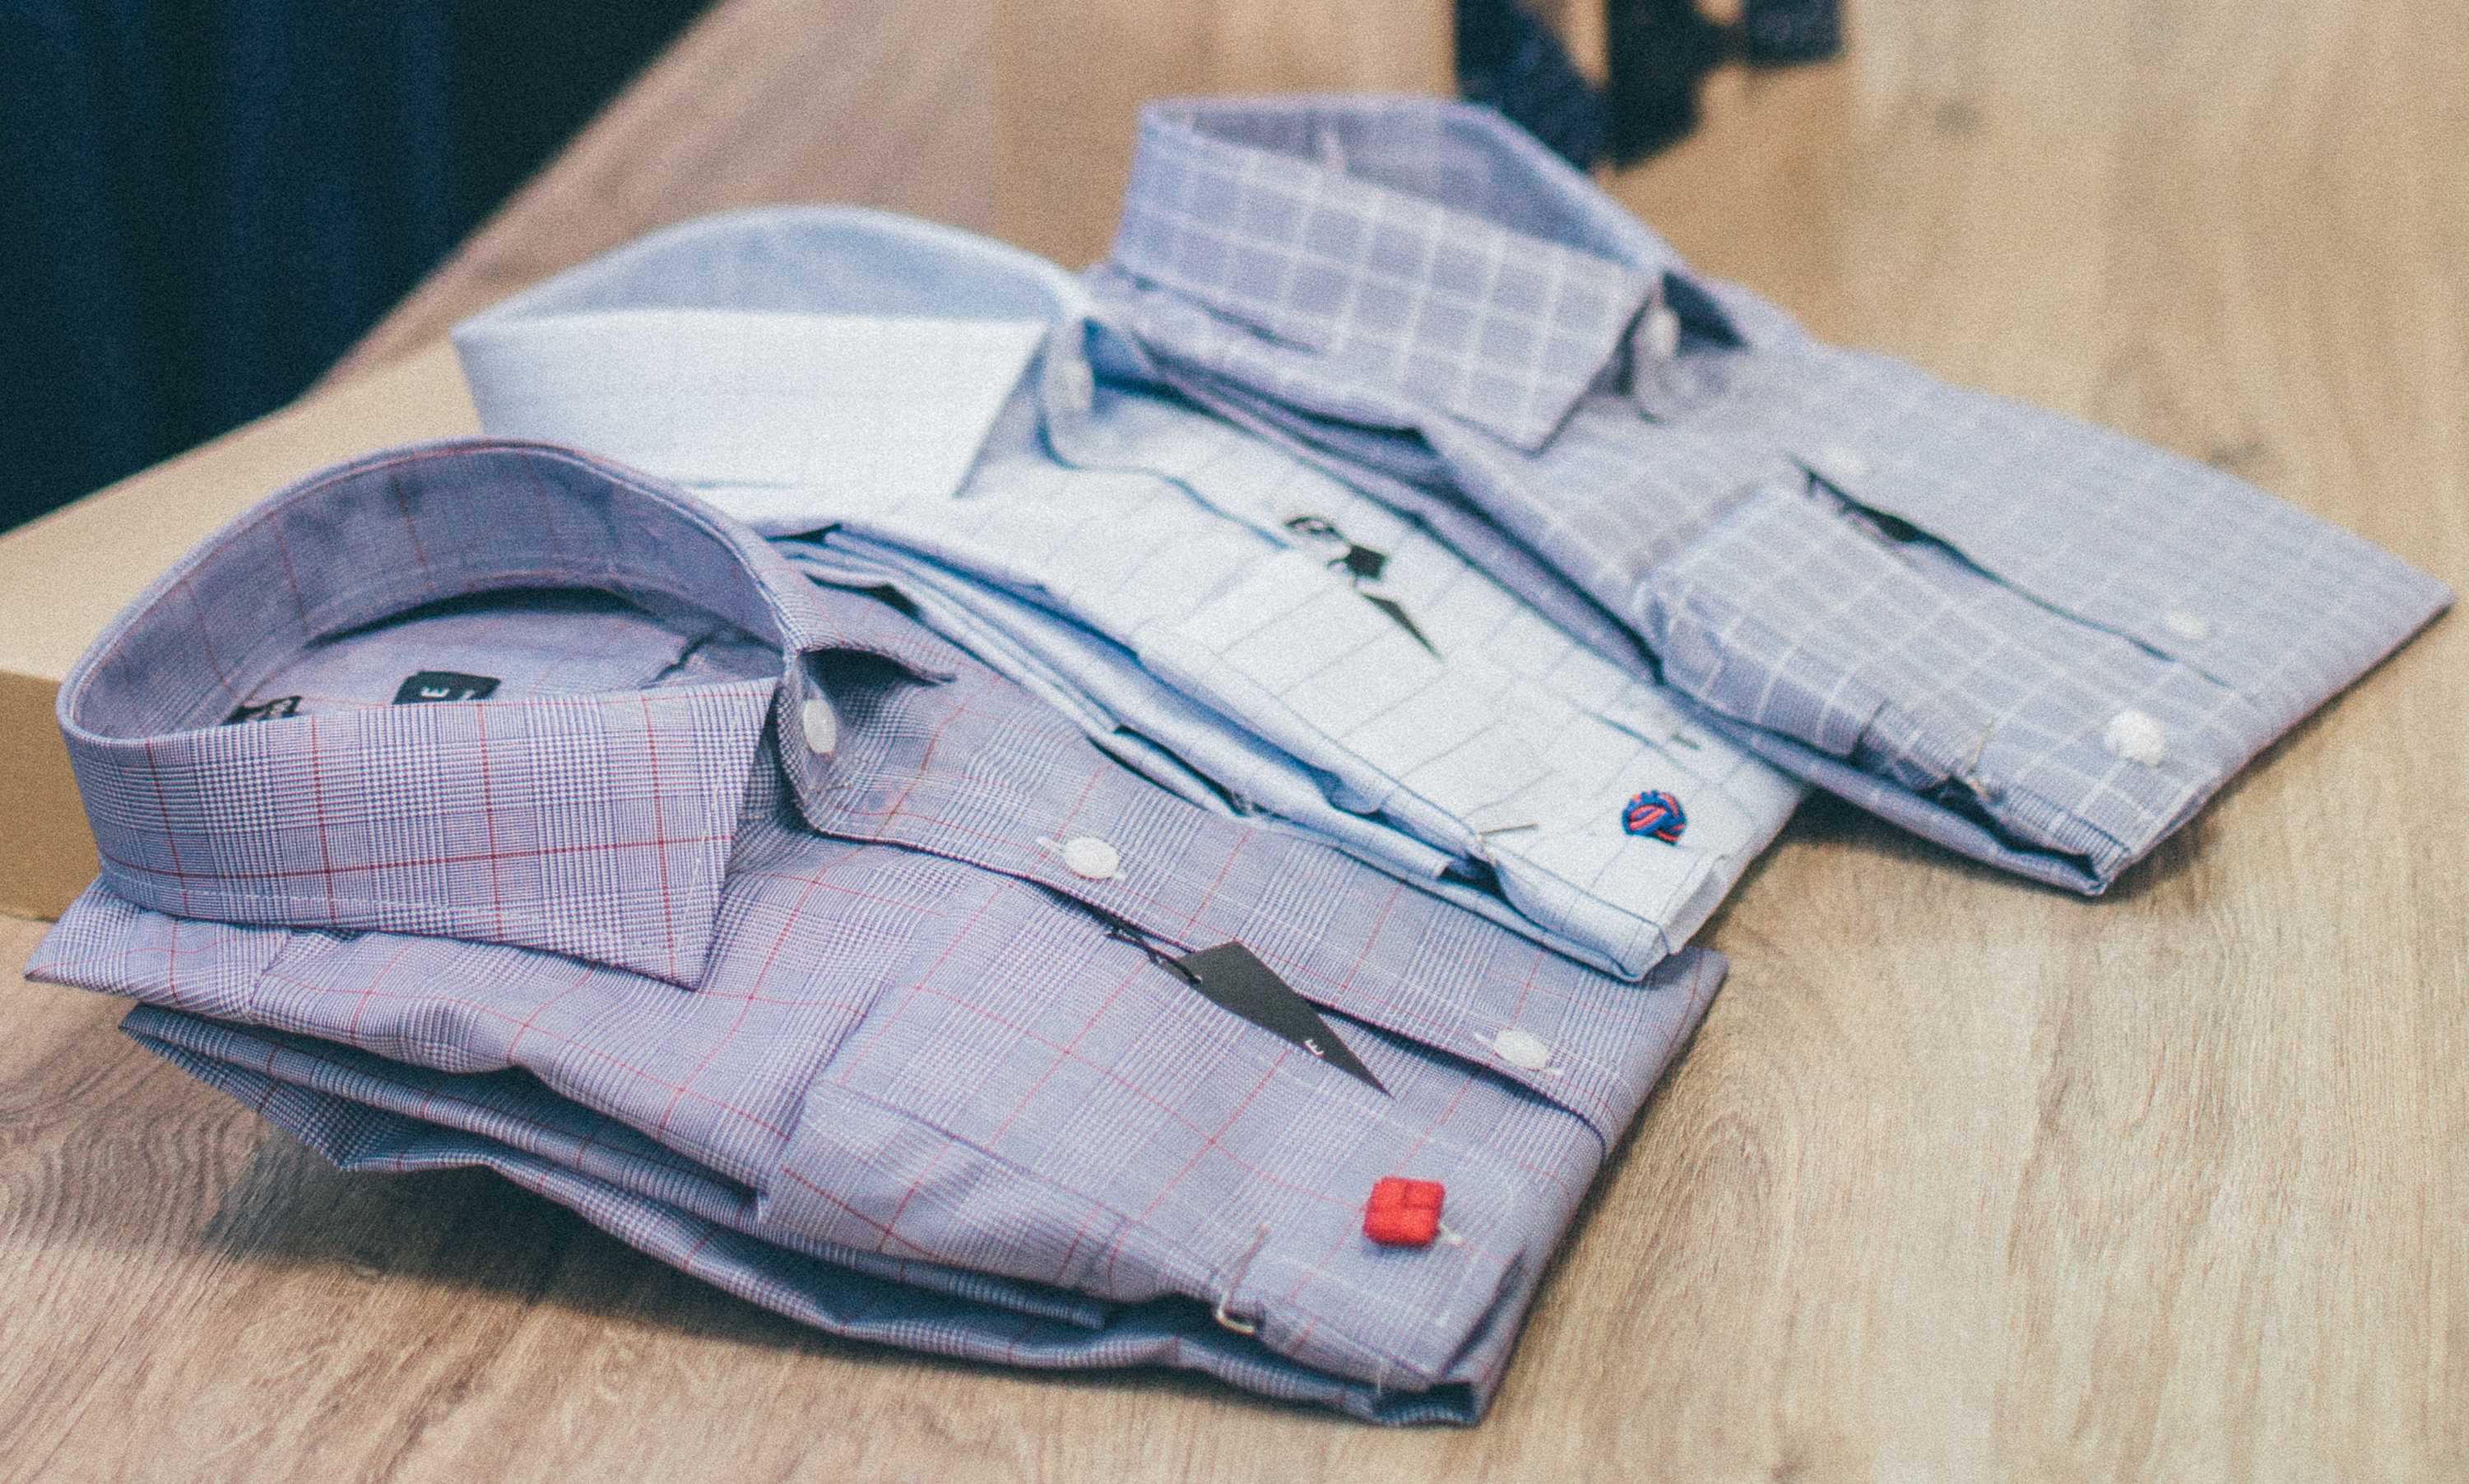
A wise shirt choice for men is a simple collared shirt or even a plain t-shirt (if the neckline isn’t worn or stretched).
Be sure to avoid hoodies.
Older women can select to wear a scarf on their neck if they wish to cover neck creases.
You should also avoid wearing a white shirt or a shirt that matches the background color of the photograph. A lightly-colored shirt blends into the background. On the other hand, a contrasting color highlights your shoulders. This gives the illusion of a better posture.
Don’t Wear Glasses or a Hat
In some countries, officials can accept hats and glasses per passport rules. However, I still recommend taking the passport photo without any accessories. Wearing glasses makes taking a good passport photo harder. Besides, our experience shows that eyeglasses raise the risk of officials rejecting your photo. The risk is higher even when you manage to avoid reflections and the frame covering your eyes.
Another reason to avoid glasses in a passport photo is that they make automatic face recognition harder. A failure in automatic recognition can lead to unwanted stops at airports.
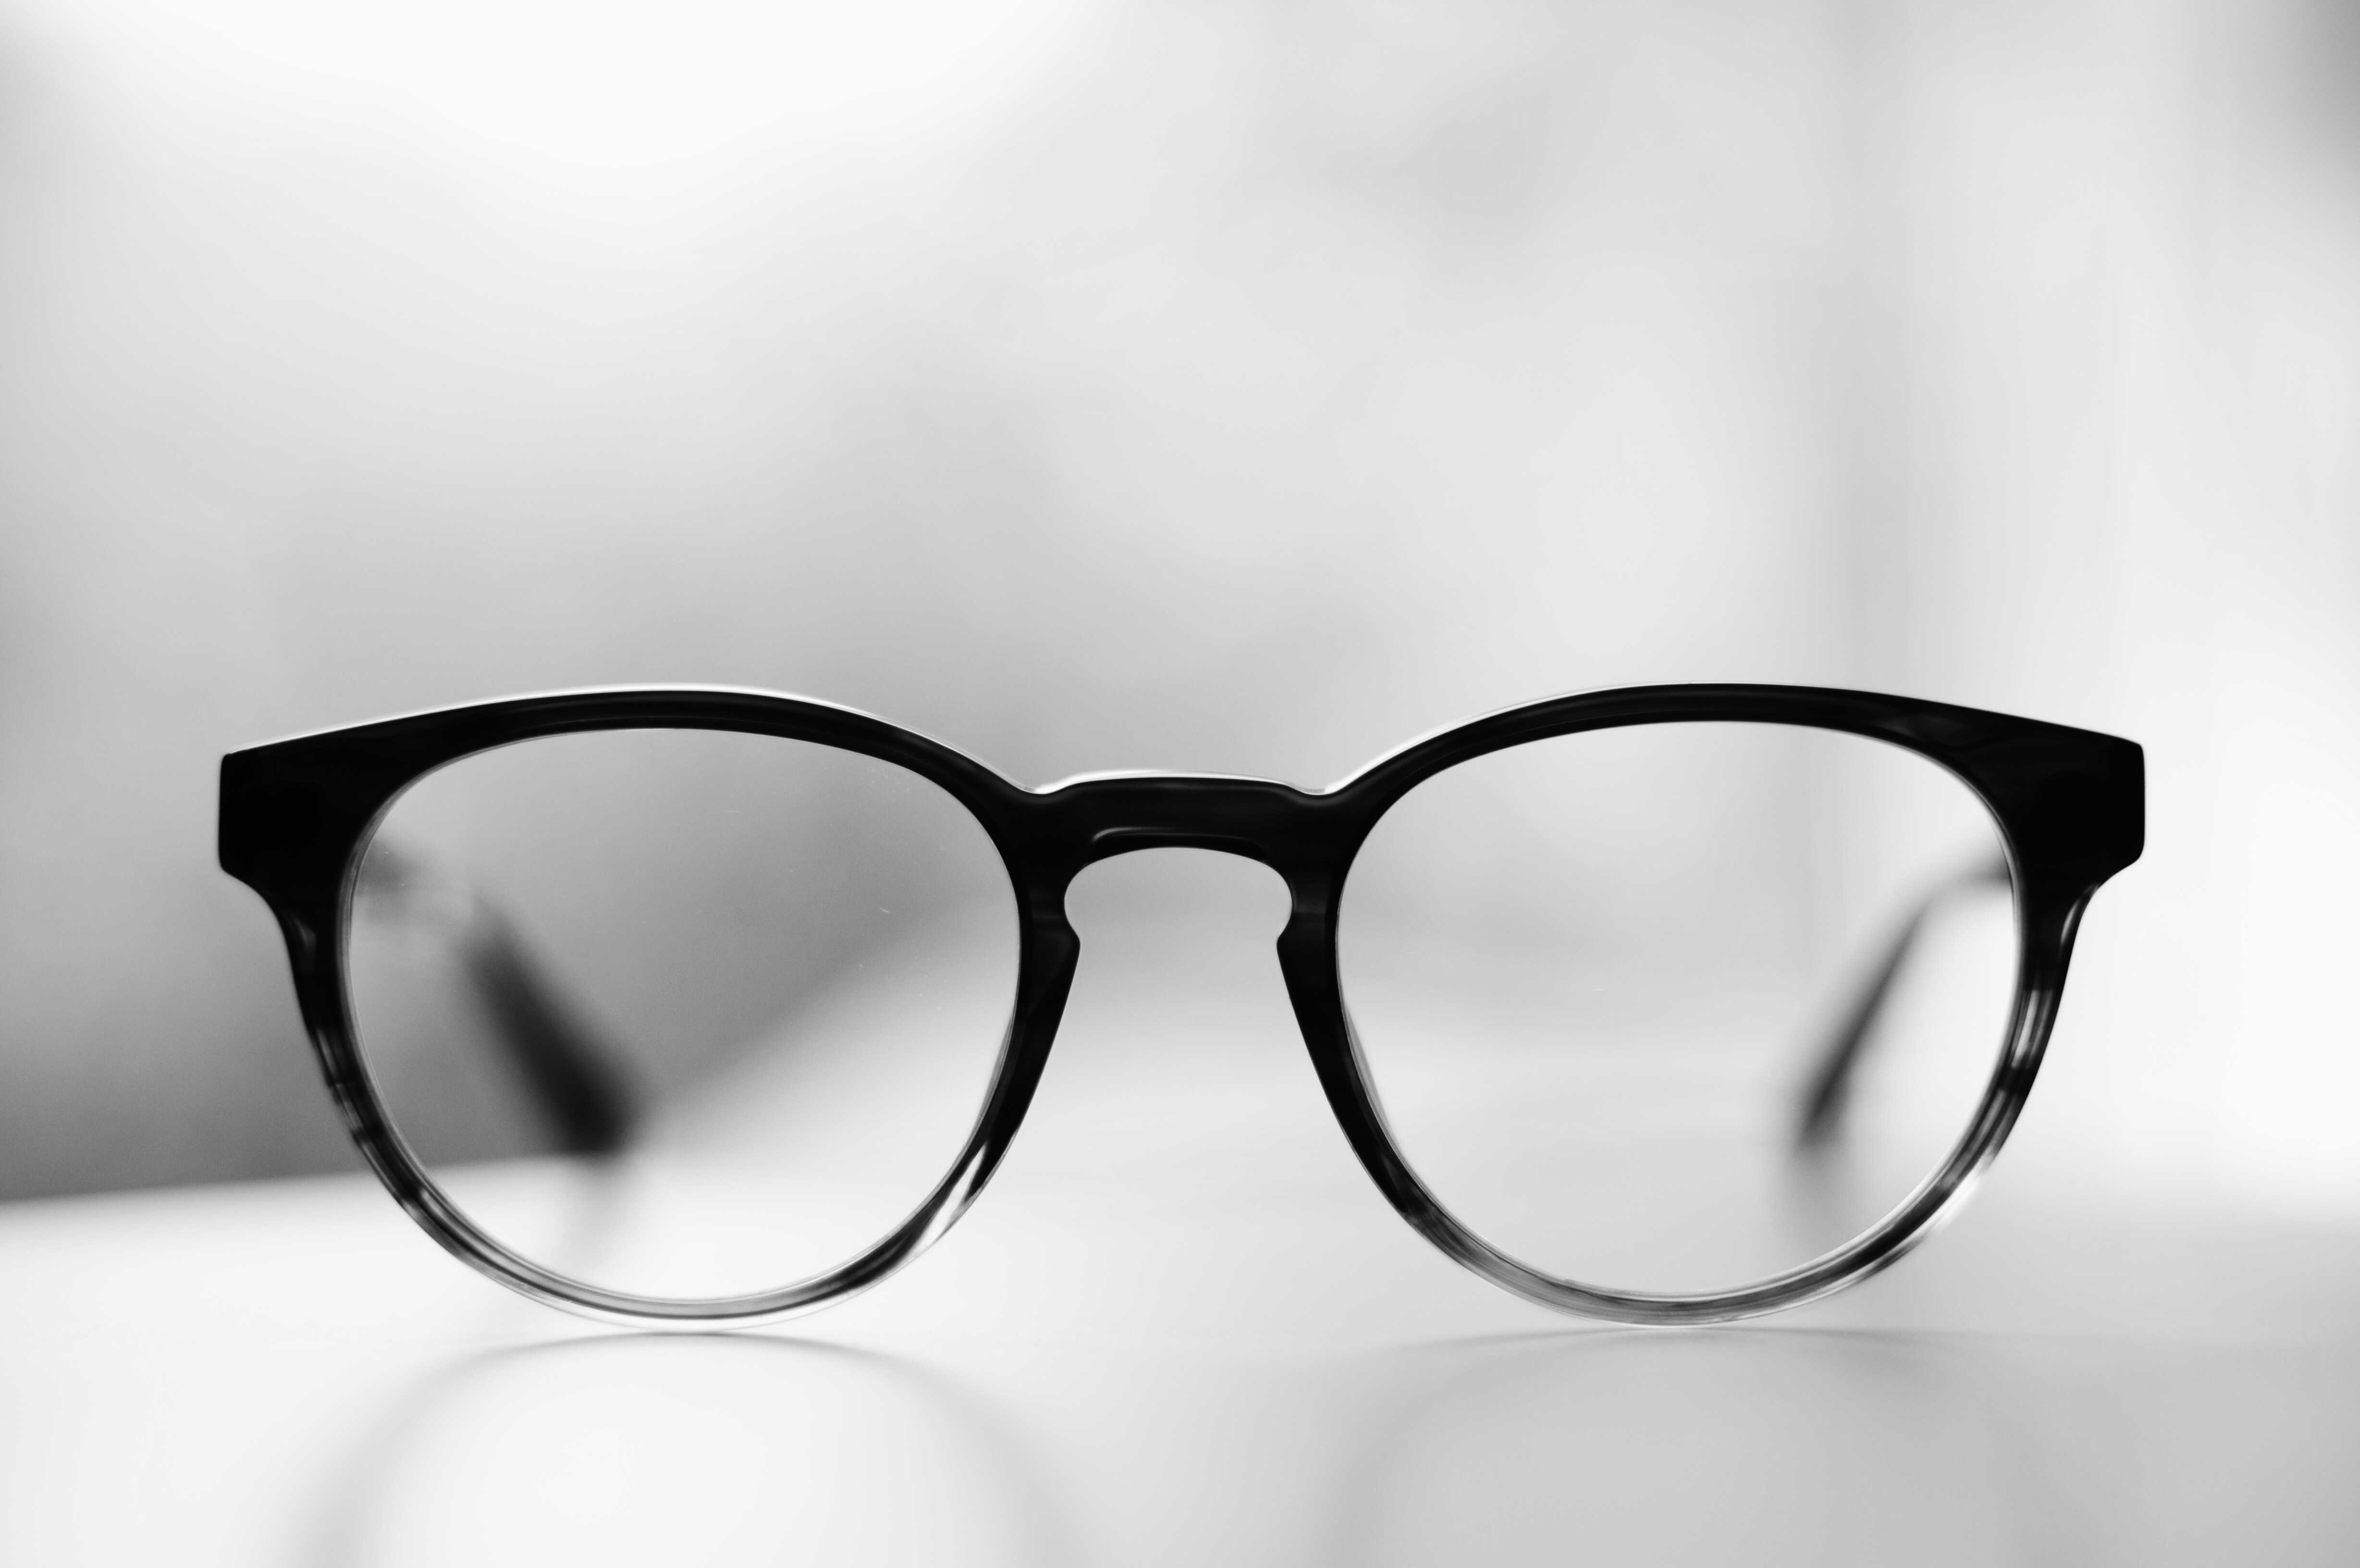
Additionally, make sure to take off your hat and eyeglasses a while before taking the photo. They often leave unsightly indentation marks for a short period, and you want to avoid that in your photo.


