


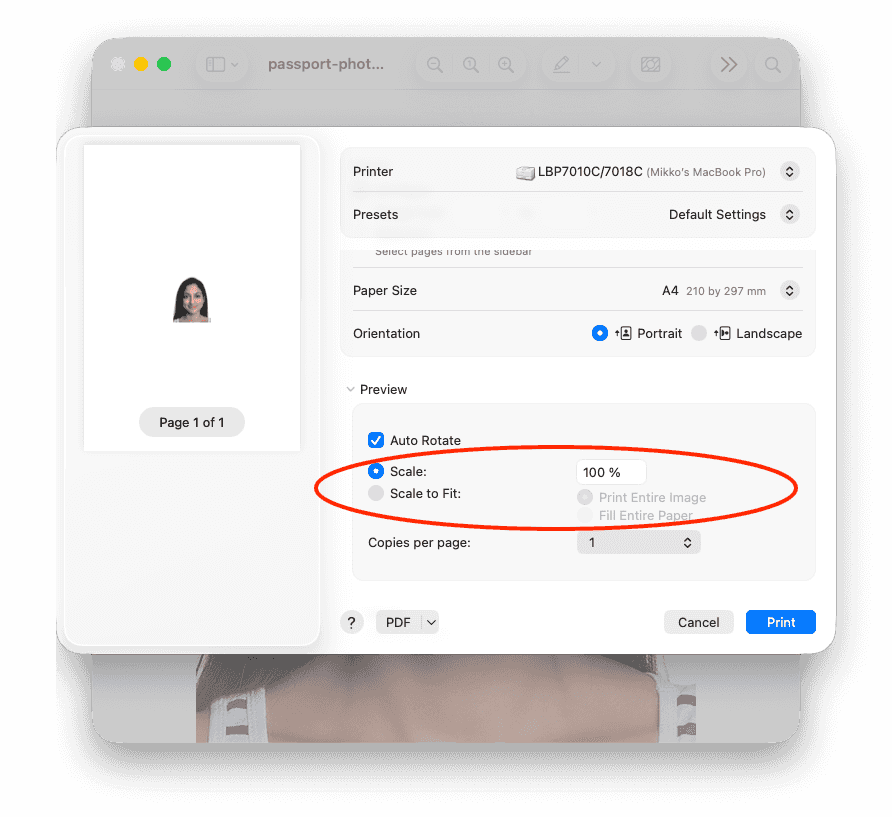
The most important rule: Print the file at 100% scale. Do not let the printer or service scale, shrink, or “fit to page”.
Mac OS
- In the print dialog, select Scale: 100%.
Windows
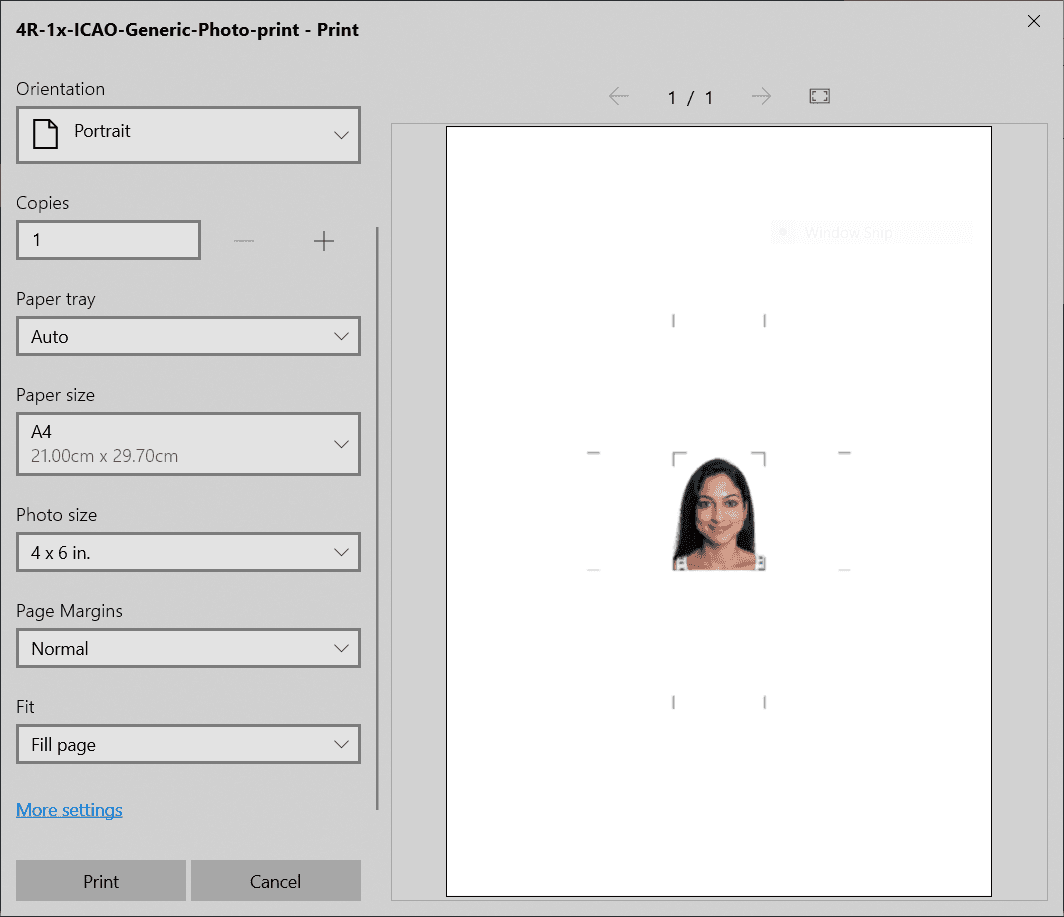
The standard Windows print dialog does not have an “Actual size” or “100% scale” option. You have two options to print at the correct size.
Option 1: Use the Windows native print dialog
- In Passport Photo Lab (Save cropped photo → Layout designer): Save your image with a specific sheet size (e.g., 4R / 4x6 in).
- Choose a size larger than your photo but smaller than your printer paper.
- Ensure this size is available in the Windows “Photo size” list.
- In Windows Print Dialog: Select the Photo size that matches your saved sheet size (e.g., 4x6 in).
Option 2: Use Adobe Acrobat Reader (PDF)
- In Passport Photo Lab (Save cropped photo → Layout designer): Select a sheet size that matches your actual printer paper (or is smaller).
- Save as PDF.
- Open the PDF in Adobe Acrobat Reader.
- In the Acrobat Reader’s print dialog, select Actual size.
Note: Some printers cannot print to the very edge of the paper. If you use a full-page sheet, the edges might be cut off.
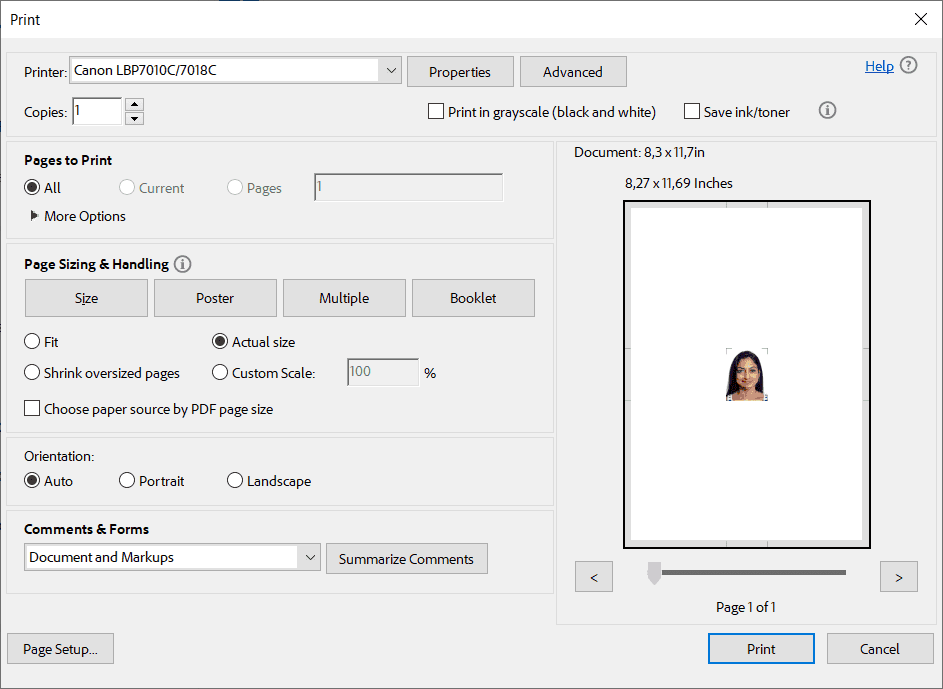
Photo printing services (CVS, Walgreens, etc.)
Printing kiosks often try to “auto-correct” or stretch images, which ruins the size.
- Best case: If the service offers a “100% scale” or “Actual size” option, select it.
- If no such option exists:
- In Passport Photo Lab (Save cropped photo → Layout designer), select the exact sheet size you will order (e.g., 4x6 in). Save the file as JPG.
- Upload this file to the service. Since the file matches the paper size exactly, it should print correctly.
Note: If the print service cannot print to the edge of the sheet, it may automatically shrink the image to fit within the printable area. In this case, you need to determine the exact printable area (paper size minus margins) used by the print service. Then, in Layout Designer, create a custom sheet size that matches the printable area.


