


Are you tired of unflattering passport photos? You’re not alone. Most people dread their passport photo because the strict regulations seem to strip away personality and flattering angles.
However, I can tell you that you still have control. Drawing on industry secrets used for headshots and portraits, I’ve compiled 12 professional techniques to help you look your best while remaining 100% compliant with official rules.
Let’s dive in.
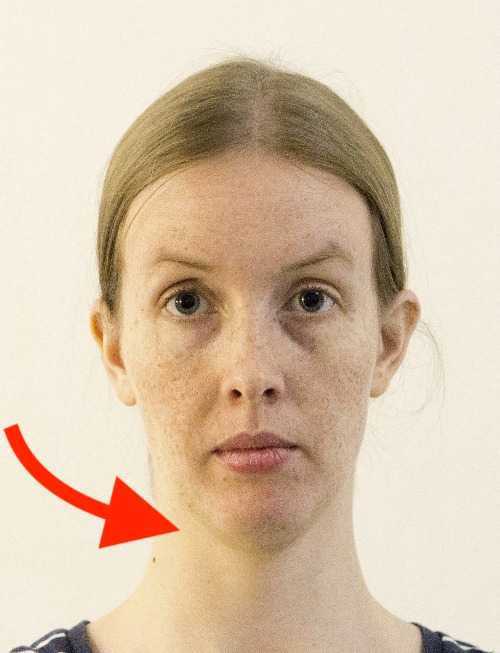
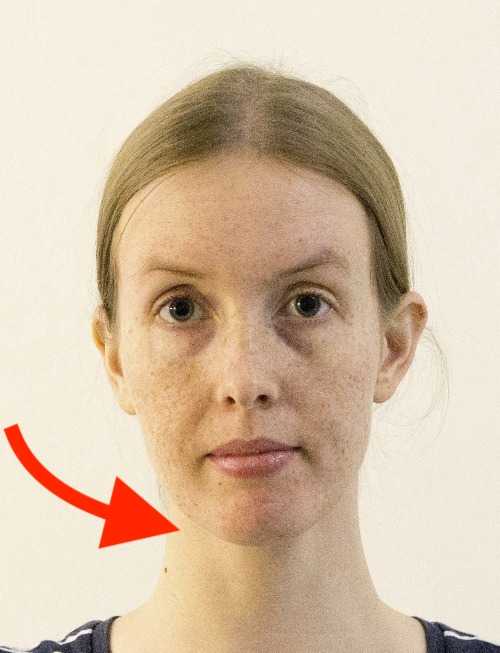
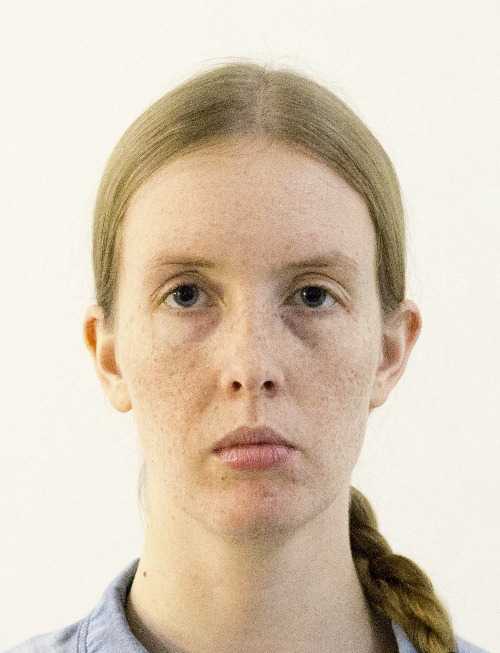
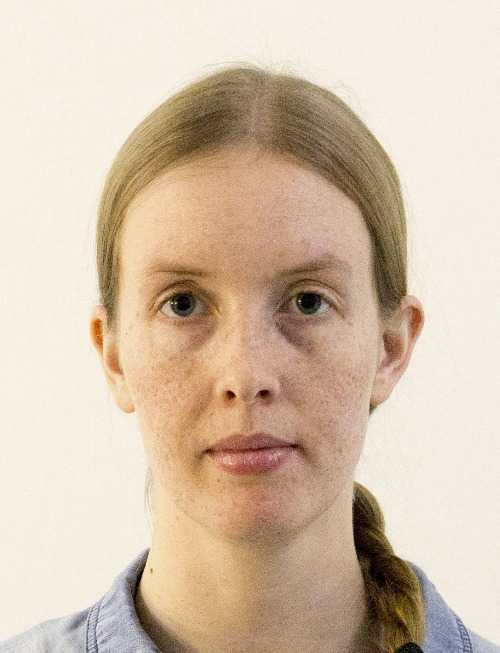
1. Push your head forward for a defined jawline
Below, you can see a couple of examples.
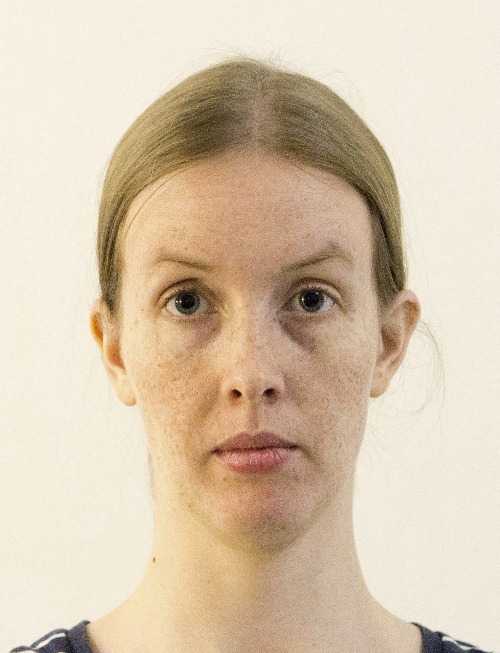

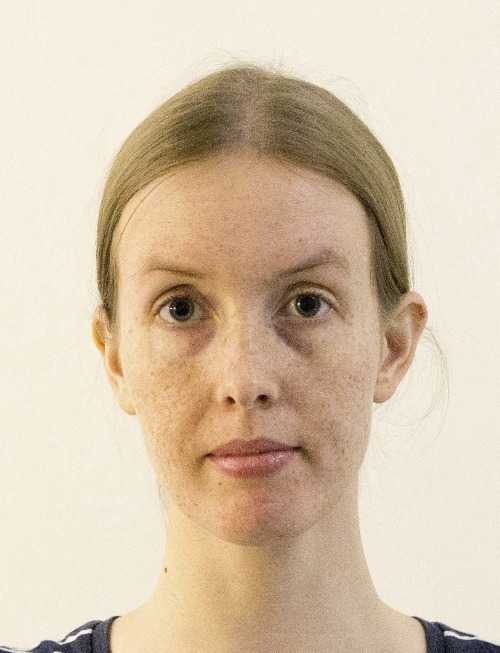
Compare the jawlines in the top and bottom rows. In the bottom row, the model leans her entire face slightly forward towards the camera, instantly sharpening the jawline.
Your jawline anchors your face. A defined jawline provides structure and prevents the dreaded “double chin” effect that flat lighting often creates.
Why this works: While our eyes naturally perceive depth and dimension, a passport photo, or any portrait photo, is flattened to two dimensions. One way to create a jawline is to cast a sharp shadow with light from above. If additional lights are unavailable, the model can create a shadow with their pose.
Creating a clearer jawline with a pose isn’t cheating. It is an aid for representing a 3D face on a 2D surface.
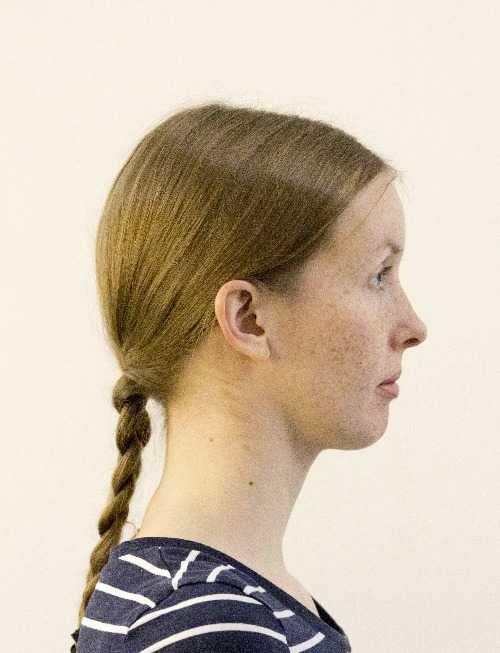
Professional photographers sometimes call this “turtling.” It feels unnatural from the side, like a turtle continuously stretching its neck out of its shell, but from the front, the camera only sees a sharp, defined face. The key is to extend your neck without tilting your chin up or down.
I highly recommend watching Peter Hurley’s viral video on this specific technique.
Pro tip: Imagine moving your ears towards the camera. This ensures you move your whole head forward while keeping your face parallel to the lens, avoiding unwanted tilt.
2. Master the “squinch” (smile with your eyes)
Here is another trick that professional photographers use:
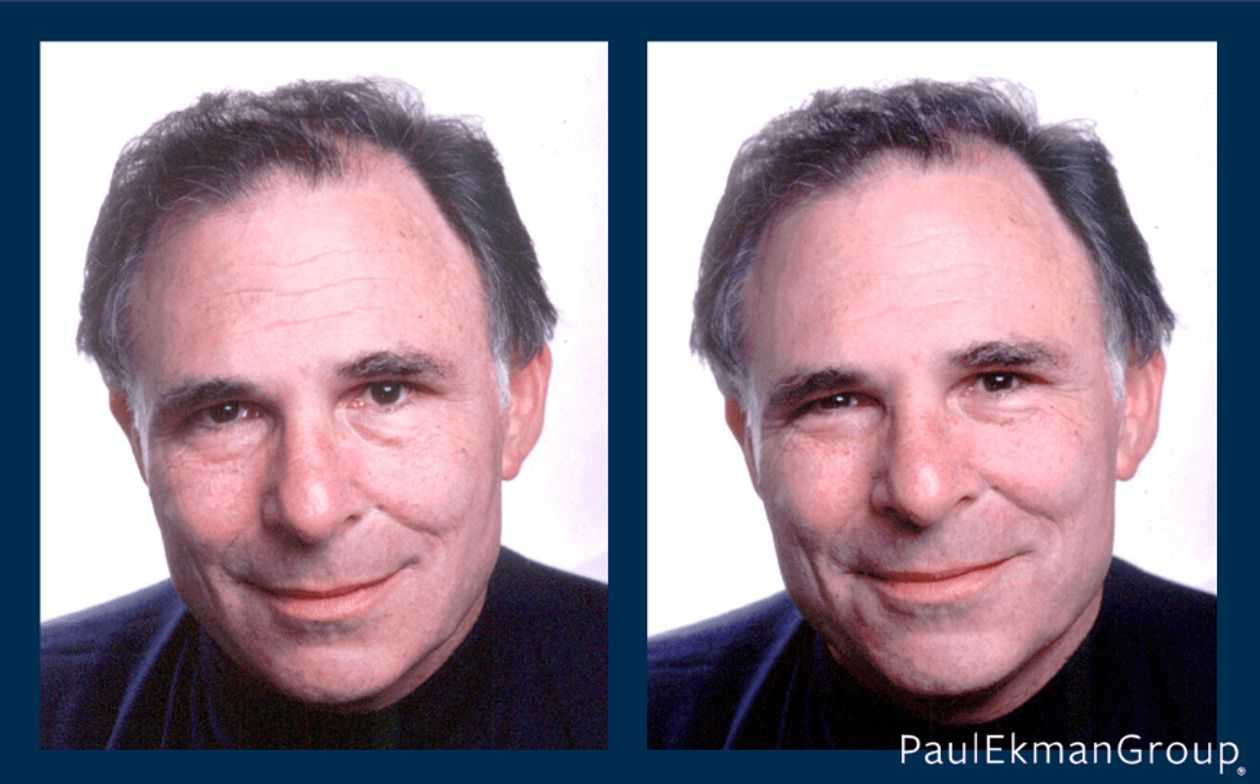
While it’s natural to want to keep your eyes wide open to avoid blinking at the wrong moment, this common mistake can create an unnatural, startled appearance.
Some also try to avoid looking tired by concentrating on holding their eyes open.
However, this does not look right in the photos. Don’t concentrate on forcing your eyes open! It will make you look like a deer in headlights. Holding your eyes open also raises your eyebrows (try it!). Raised eyebrows do not create a very flattering look in a portrait. They indicate being scared or surprised.
Professional photographers sometimes advise their models to squint. A slight squint makes the model look more confident. Slightly closed eyes are also a natural part of smiling, so keeping them slightly closed can be attractive.
Squinting or slightly closing eyes doesn’t describe the pose perfectly. Some call this pose “smiling with your eyes.”
Peter Hurley explains this perfectly in his video on “squinching”.
A small amount of engagement in the eyes conveys confidence and approachability, even without a toothy smile.
3. Instantly fix posture with a deep breath
Transform your posture instantly with this simple trick: Take a deep breath in.
This naturally straightens your spine, pushes your chest out, and pulls your shoulders back. Even though the photo is cropped close to your face, your neck position depends on your spine. Good posture elongates the neck and makes you look more poised.
4. Avoid the mugshot look with a subtle smile
Passport rules require a “neutral expression.” Many people interpret this as lifeless or serious, resulting in a photo that looks like a criminal record.
However, “neutral” simply means having your eyes open and mouth closed. It does not mean you have to look miserable. You can (and should) have a pleasant thought in your mind. A subtle, closed-mouth smile (the Mona Lisa smile) is perfectly acceptable and makes a world of difference.
5. Capture the post-workout glow
Your face looks vastly different when you are tired versus when you are energized. Many people mistakenly rush to take photos immediately after a long day at work.
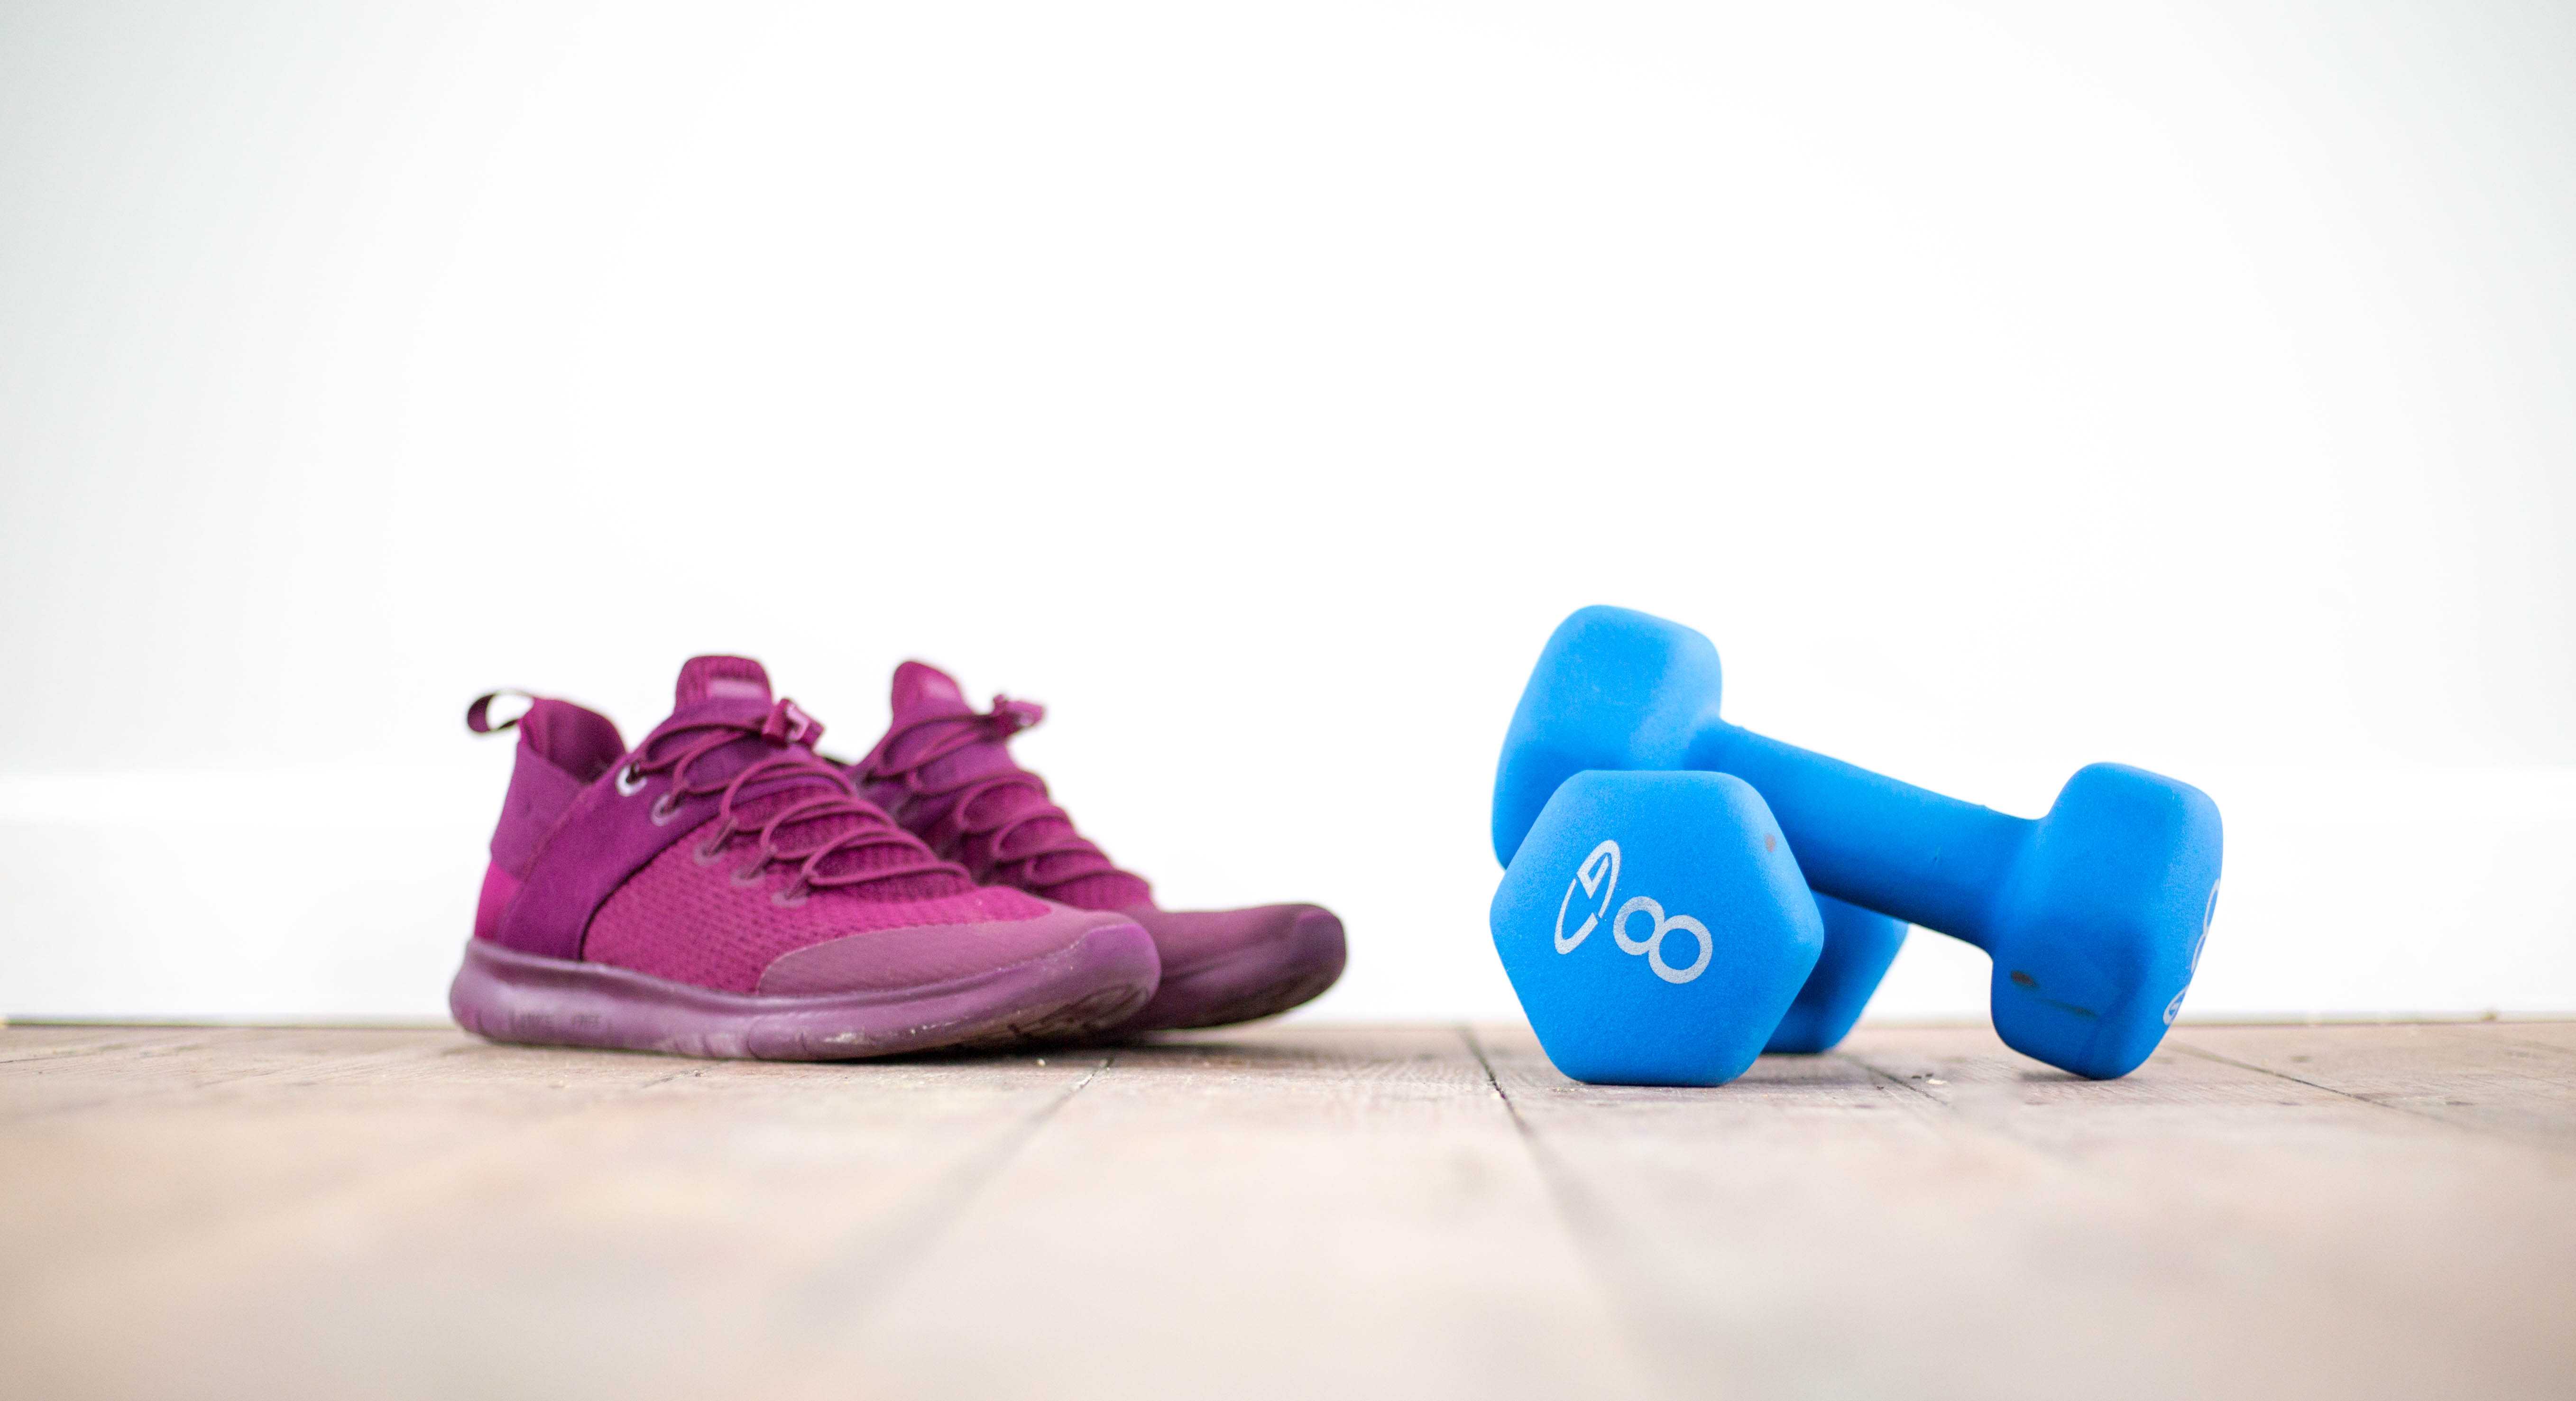
Take your passport photo about 15–30 minutes after exercising. Post-workout, your circulation is better, giving you a natural glow, and your face is less puffy. Just wait until you stop sweating!
6. Enhance features with natural makeup
You don’t need to be bare-faced. If you usually wear makeup, you should wear it in your passport photo to look like your true self.
Biometric software handles makeup just fine. The goal is enhancement, not disguise. Focus on:
- Mattifying: Reduce shine on the forehead and nose.
- Definition: Light mascara and neutral lipstick help facial features stand out under flat lighting.
7. Do a final mirror check
This sounds obvious, but it is the most skipped step.
Using a mirror isn’t vanity; it is basic preparation. Check for:
- Stray hairs standing up (“flyaways”)
- Smudges or oil on your skin
- Crooked collars
Fixing these before the click saves you from having a bad photo for the next 10 years.
8. Seek soft, natural light
This tip is specifically for those taking their own passport photo at home.
Lighting is the difference between a mugshot and a portrait. Avoid direct flash (which looks harsh) or direct overhead light (which casts dark “raccoon” shadows under your eyes).
Instead, face a large window on a cloudy day. You want diffused natural light that hits your face evenly.

For more details on possible home light setups, read our DIY passport photo article.
9. Practice your expression
Professional models practice in the mirror, and so should you. You don’t need to devote hours to this, but spending 2 minutes rehearsing your “squinch” and “turtle” (explained above) before you sit down for the photo will make a huge difference. Remember that you can’t see yourself during the photo, so muscle memory is key.
10. Shoot more than you need
Professional photographers rarely get the “perfect shot” on the first click.
If you are taking the photo yourself (or having a friend do it), take at least 10-20 frames. Change something between each shot: your expression, how far you push your head forward, or how you’re positioned relative to the light source.
Micro-adjustments in your expression or head tilt can make a huge difference. Give yourself options to choose from.
If you are taking the photo at a studio, ask the photographer to take multiple shots. They should be happy to accommodate this request. Also, feel free to ask for a retake if you don’t like the first few shots after seeing them.
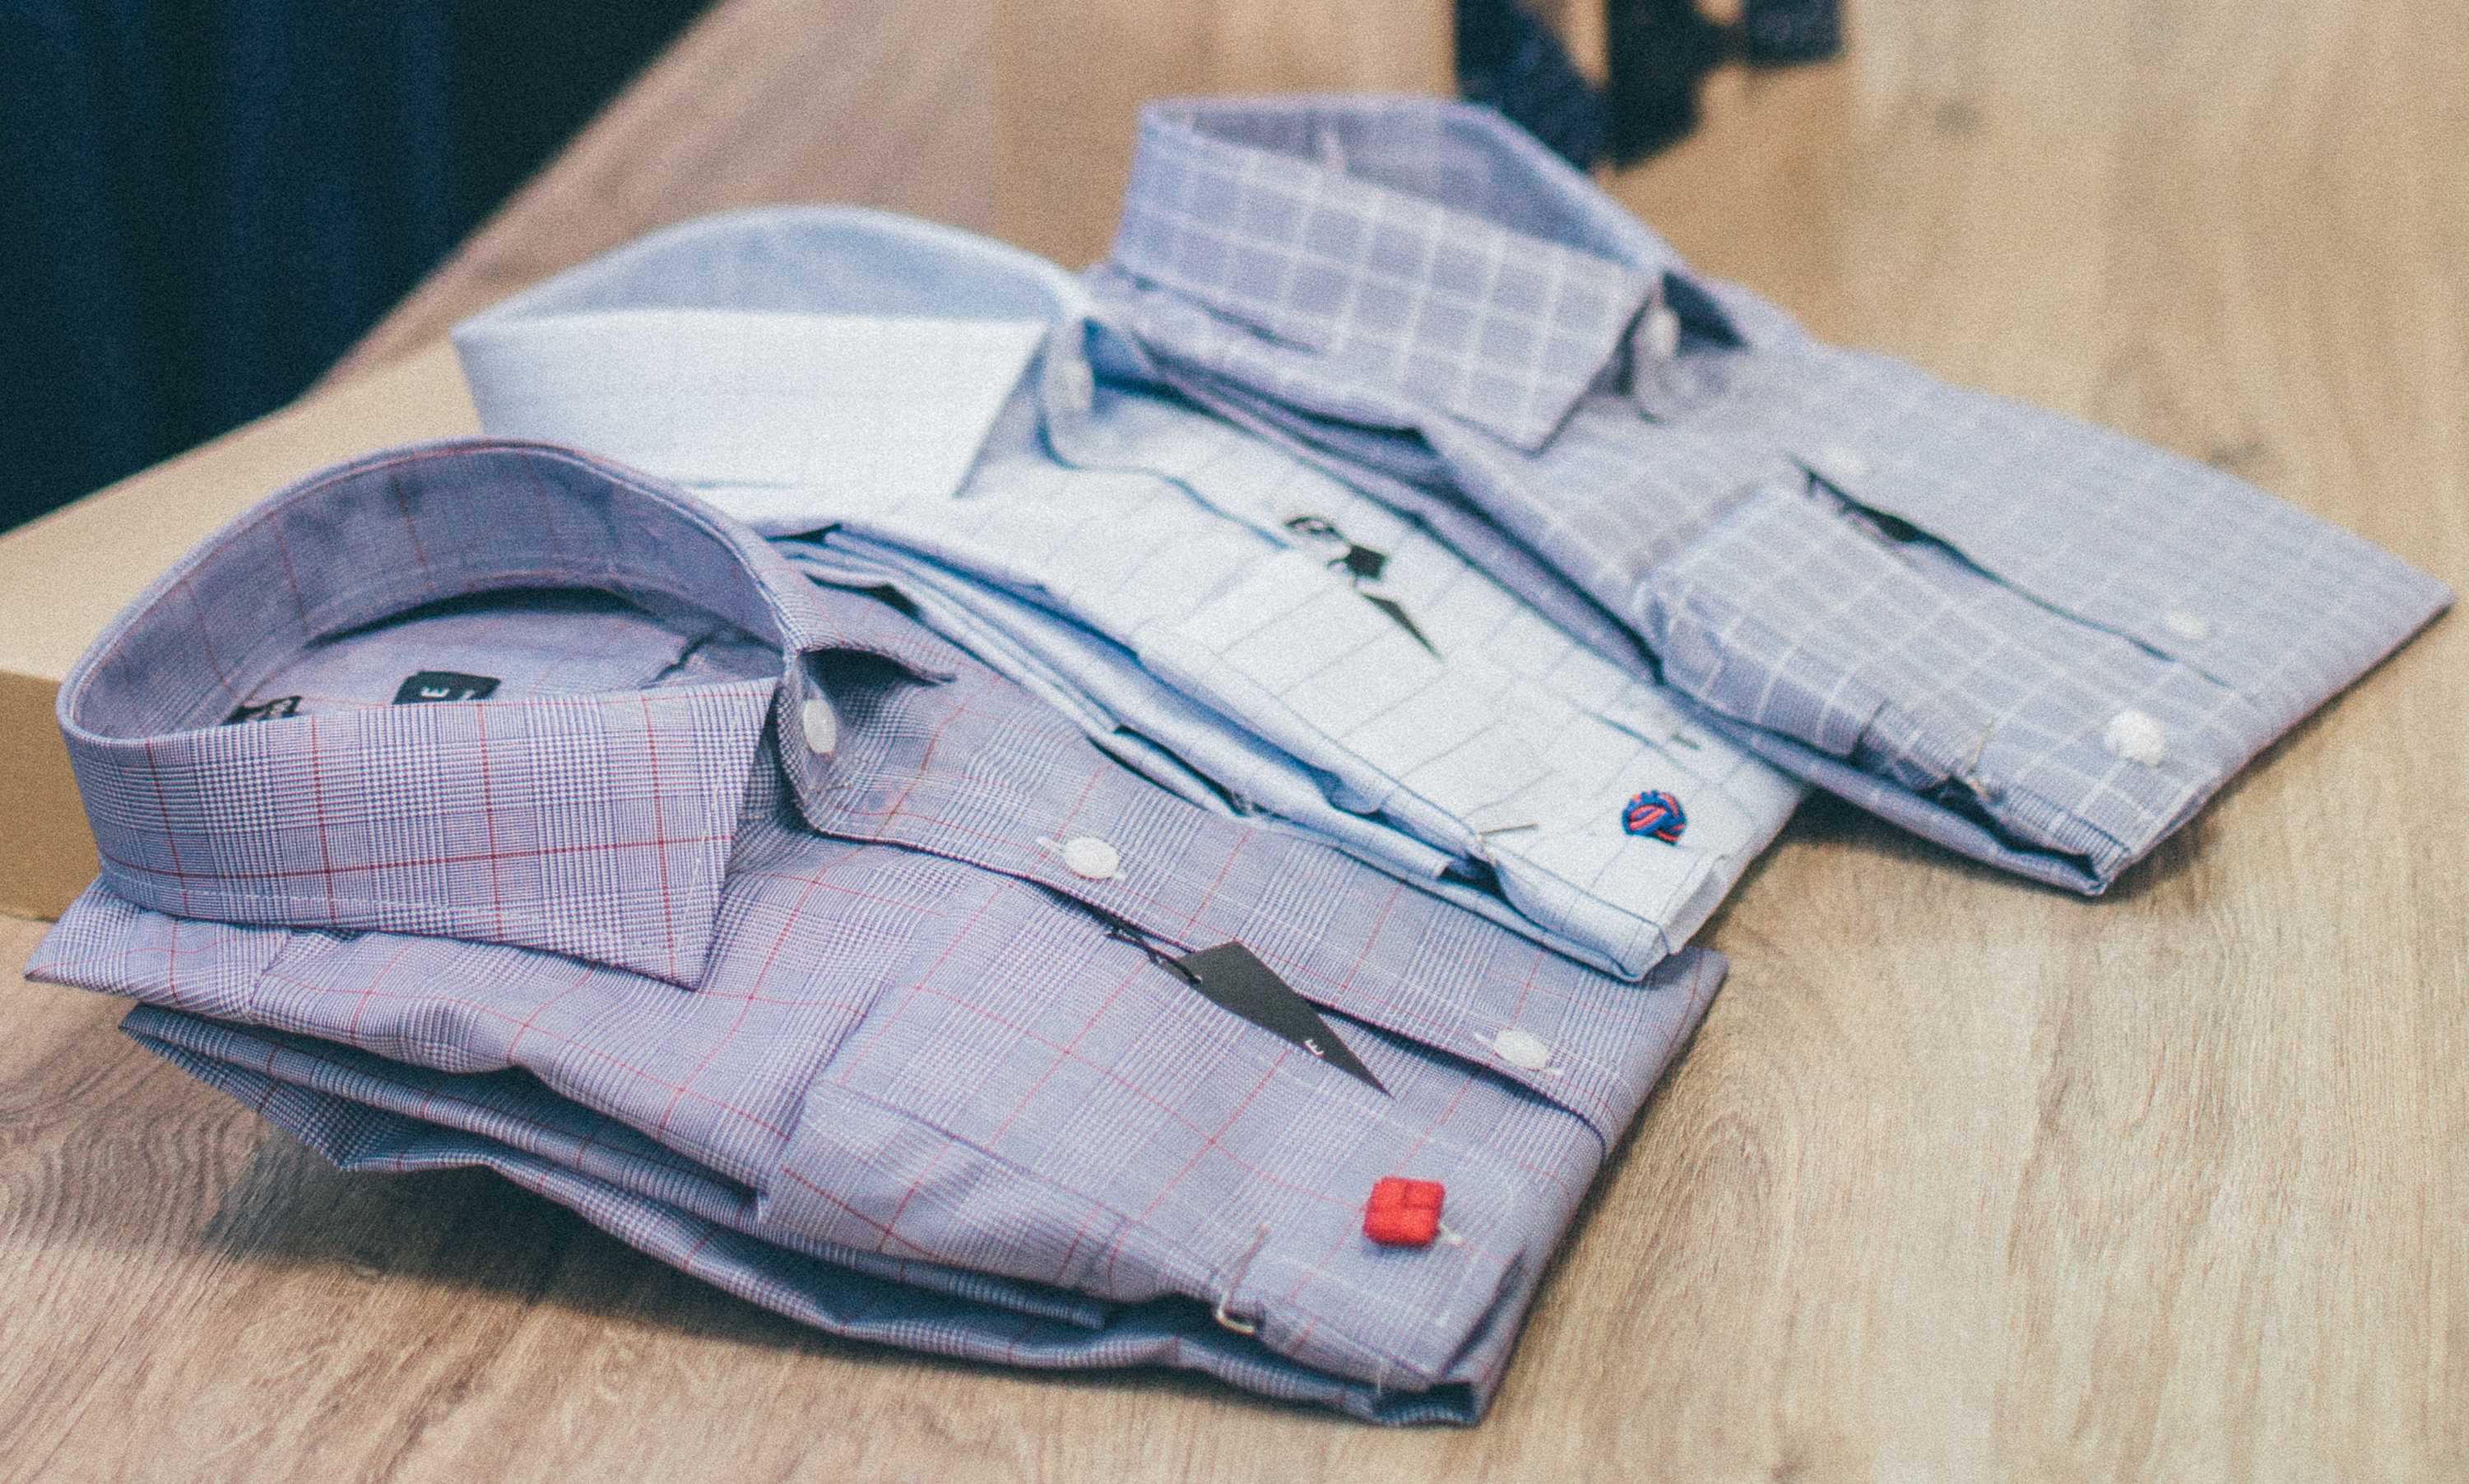
11. Choose a collared, contrasting shirt
Though only your shoulders and collar are visible, clothing choice matters.
- Wear contrast: Avoid white or light grey shirts! They blend into the standard white/grey background, making you look like a floating head. Wear darker colors like navy, black, or dark green to define your silhouette. A contrasting color also highlights your shoulders, giving the illusion of a better posture.
A wise choice for men is a simple collared shirt or a plain t-shirt (if the neckline isn’t worn or stretched).
Be sure to avoid hoodies.
Older women can wear a scarf if they wish to cover neck creases.
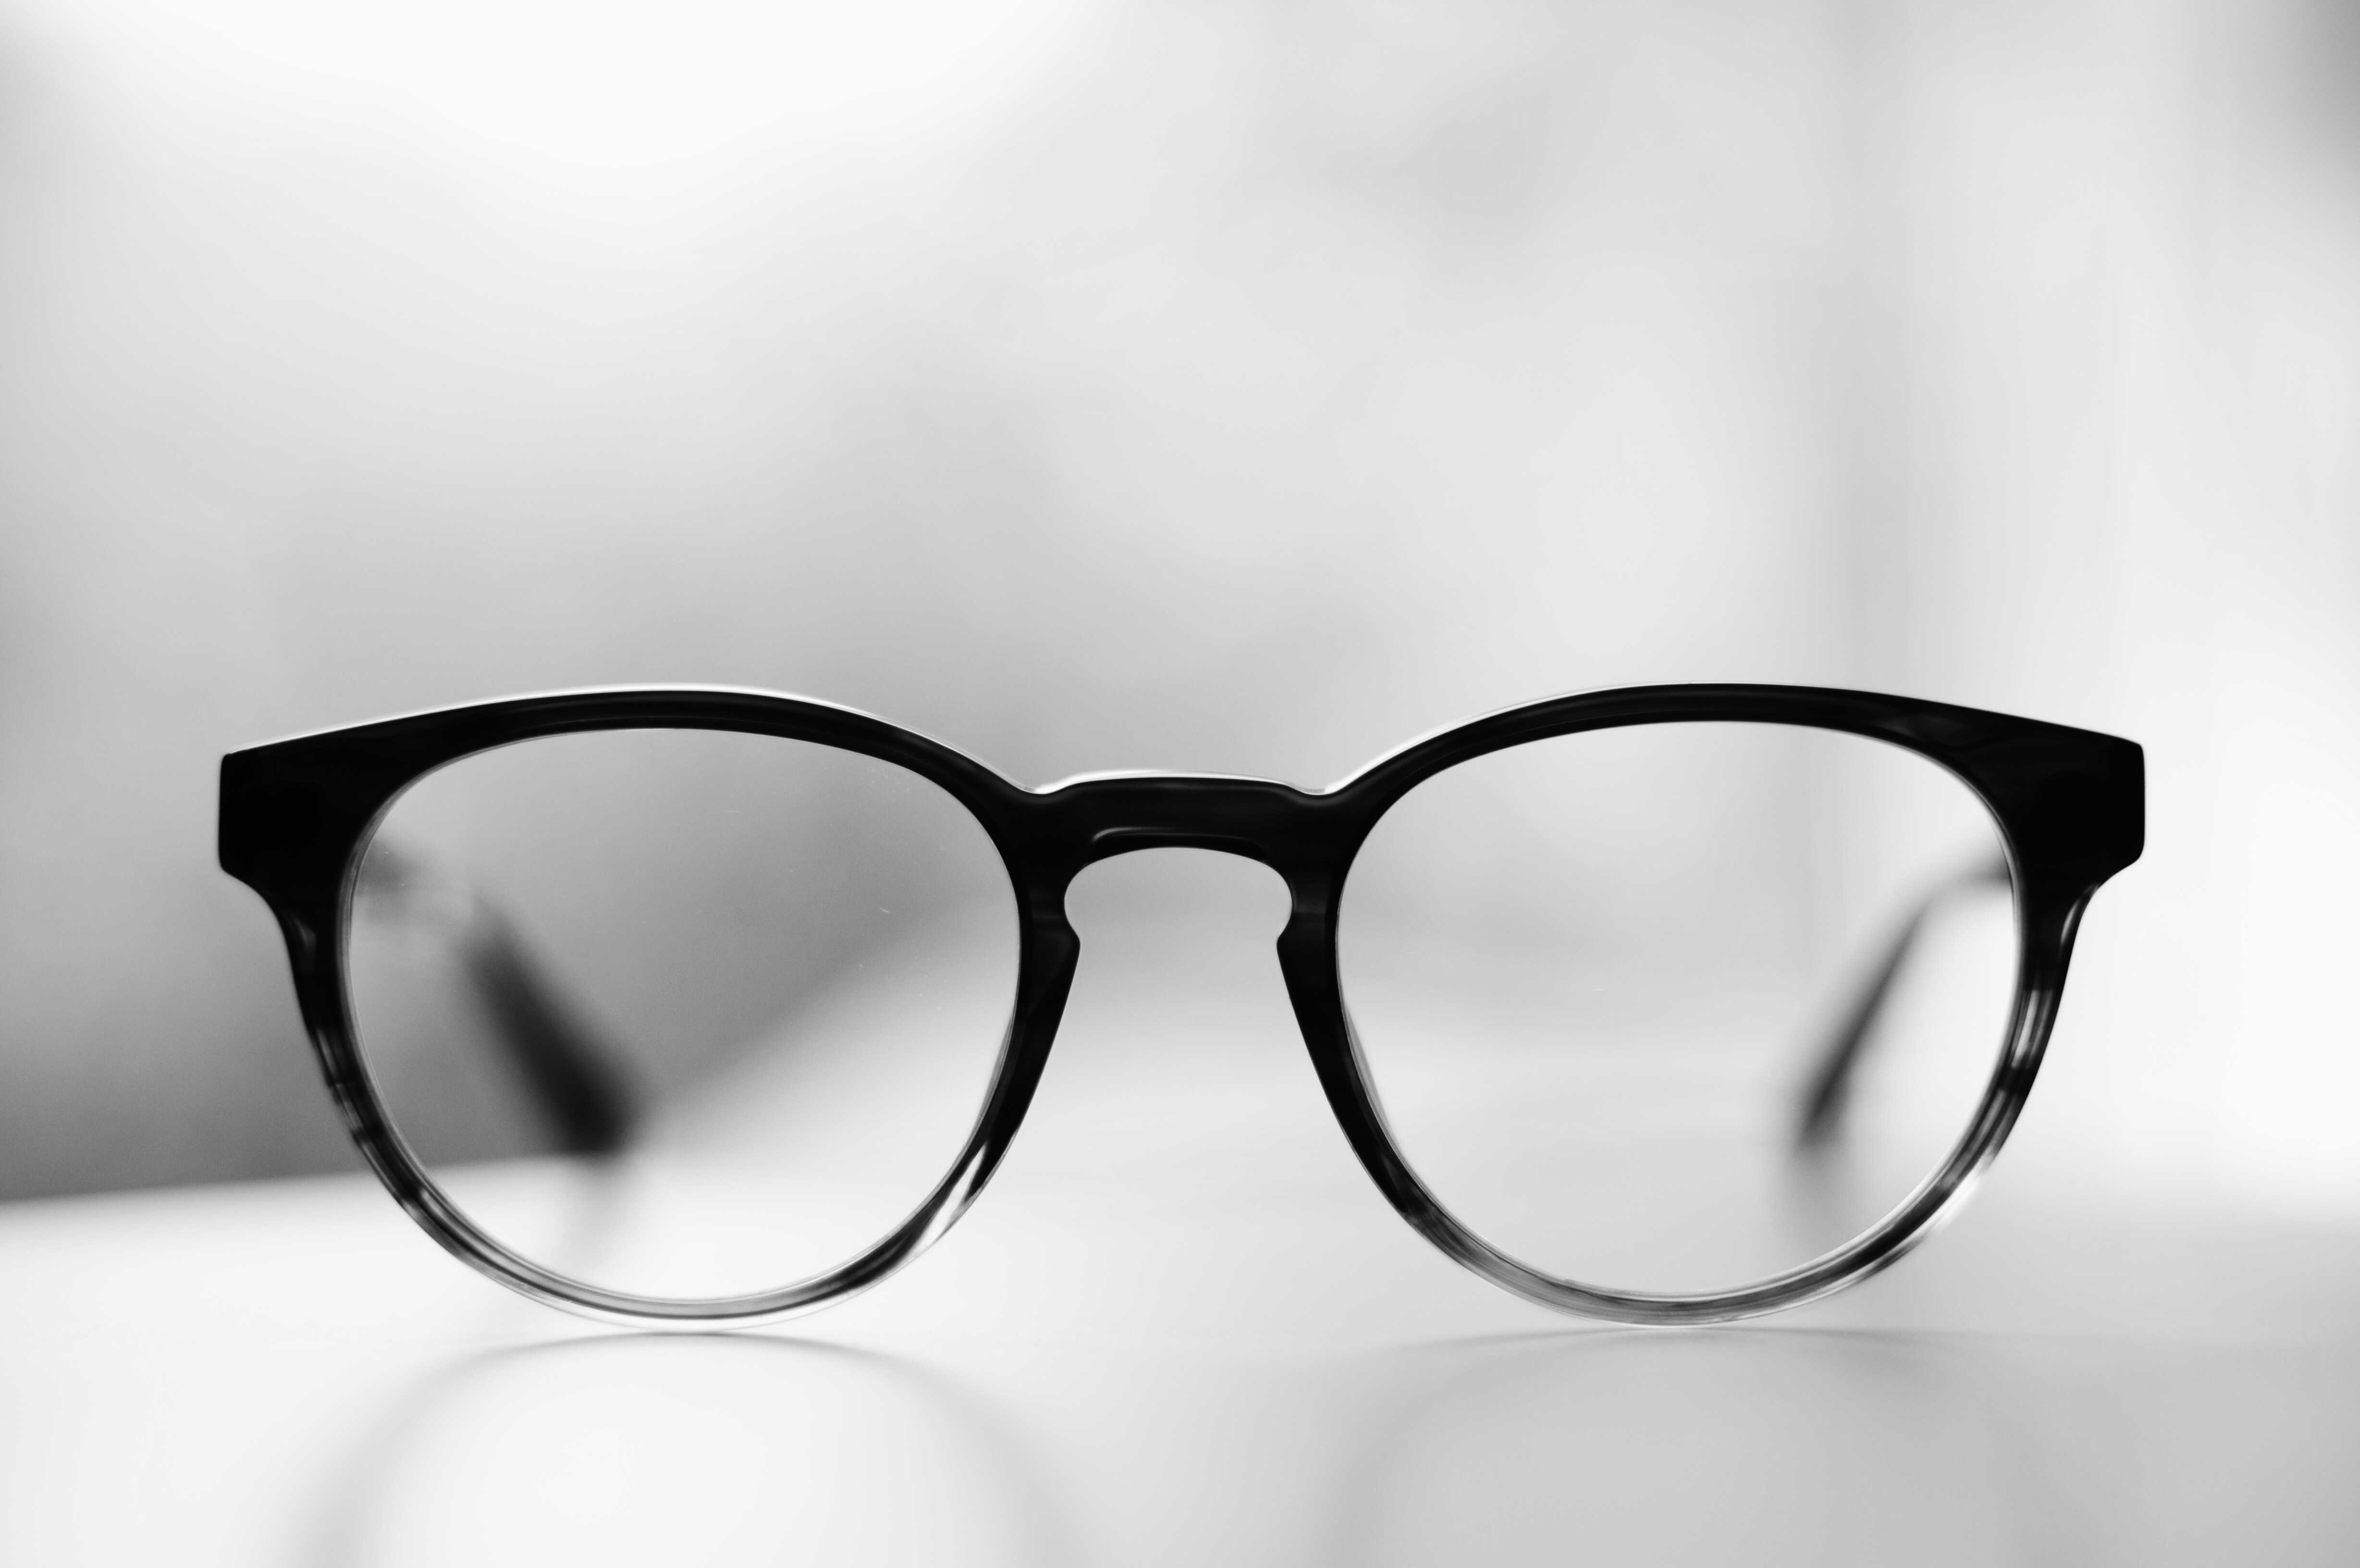
12. Remove glasses and headwear
Even if your country’s rules technically allow glasses, I strongly recommend removing them.
Why? Rejection risk. Glasses often cause glare or obscure the eyes, which is the #1 reason for photo rejection. Even perfectly clear glasses can confuse biometric software at airport e-gates, leading to delays.
Pro tip: If you normally wear glasses, take them off 15 minutes before the photo shoot. This allows the red pressure marks on your nose bridge to fade.


