


Getting a passport photo taken at a studio is easy: just show up and follow the photographer’s instructions. Still, a bit of preparation beforehand helps make sure everything goes smoothly and the result looks good.
Here are 9 tips for preparing for your passport photo shoot, and for the shoot itself.
Before you go to the studio
Before heading to the studio, it’s worth doing two things: sorting out the practical details, and making sure you look your best.
1. Find out what you need the photo for, and in what format
It sounds obvious, but double-check that you actually know what you need.
- Passport, driver’s license, visa, or some other document?
- Which country’s document is it for?
- Printed or digital photo?
- How many printed copies do you need?
Tell the photographer this right away. Photo formats and requirements (for example, whether glasses are allowed) vary.
You don’t need to know the size, positioning requirements, or background color for your photo. A professional photographer already knows the technical requirements, has them built into the software they use, or can check them if needed.
2. Choose a studio and check its policies
Check whether the studio requires an appointment.
3. Practice your expression in the mirror
Two posing techniques used by professional photographers work well for passport photos:
- Sharpen your jawline: pushing your head slightly forward creates a more clearly defined jawline in the photo. Watch Peter Hurley’s jawline video.
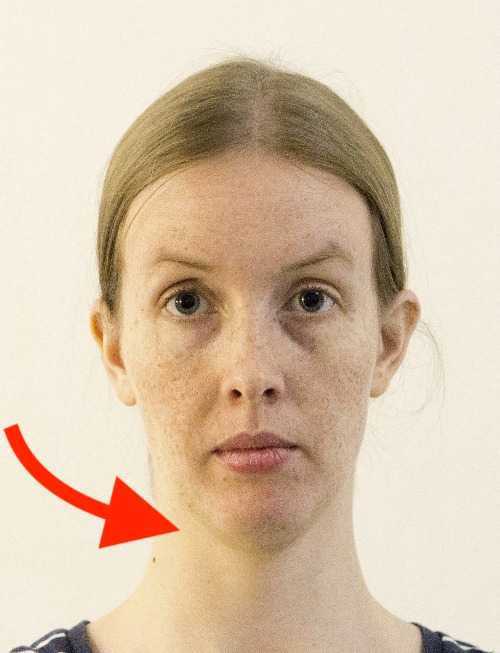
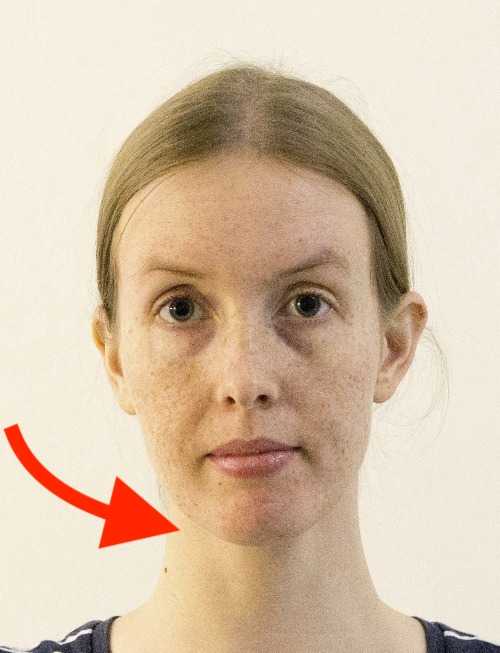
- Smile with your eyes: the “squinch”, a slight narrowing of the eyes, looks more confident than wide-open eyes. Watch Peter Hurley’s squinch video.
Use these techniques only lightly in a passport photo.
The neutral expression required for ID photos doesn’t mean looking stern or completely relaxing every muscle in your face. A hint of a smile is allowed.
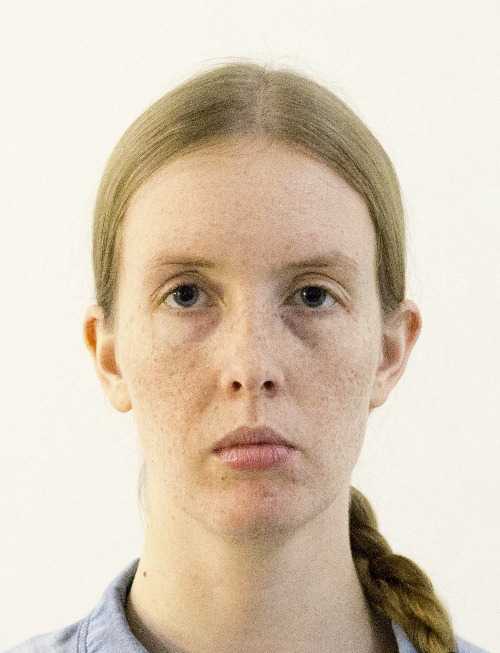
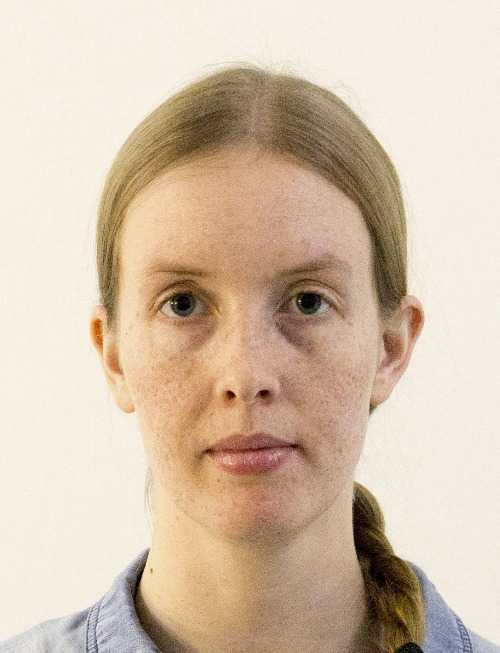
Try out your passport photo expression at home in front of a mirror beforehand. You won’t be able to see yourself in a mirror while the photo is being taken at the studio. That’s why it’s worth practicing your expression in advance.
4. Take off glasses and headwear in time
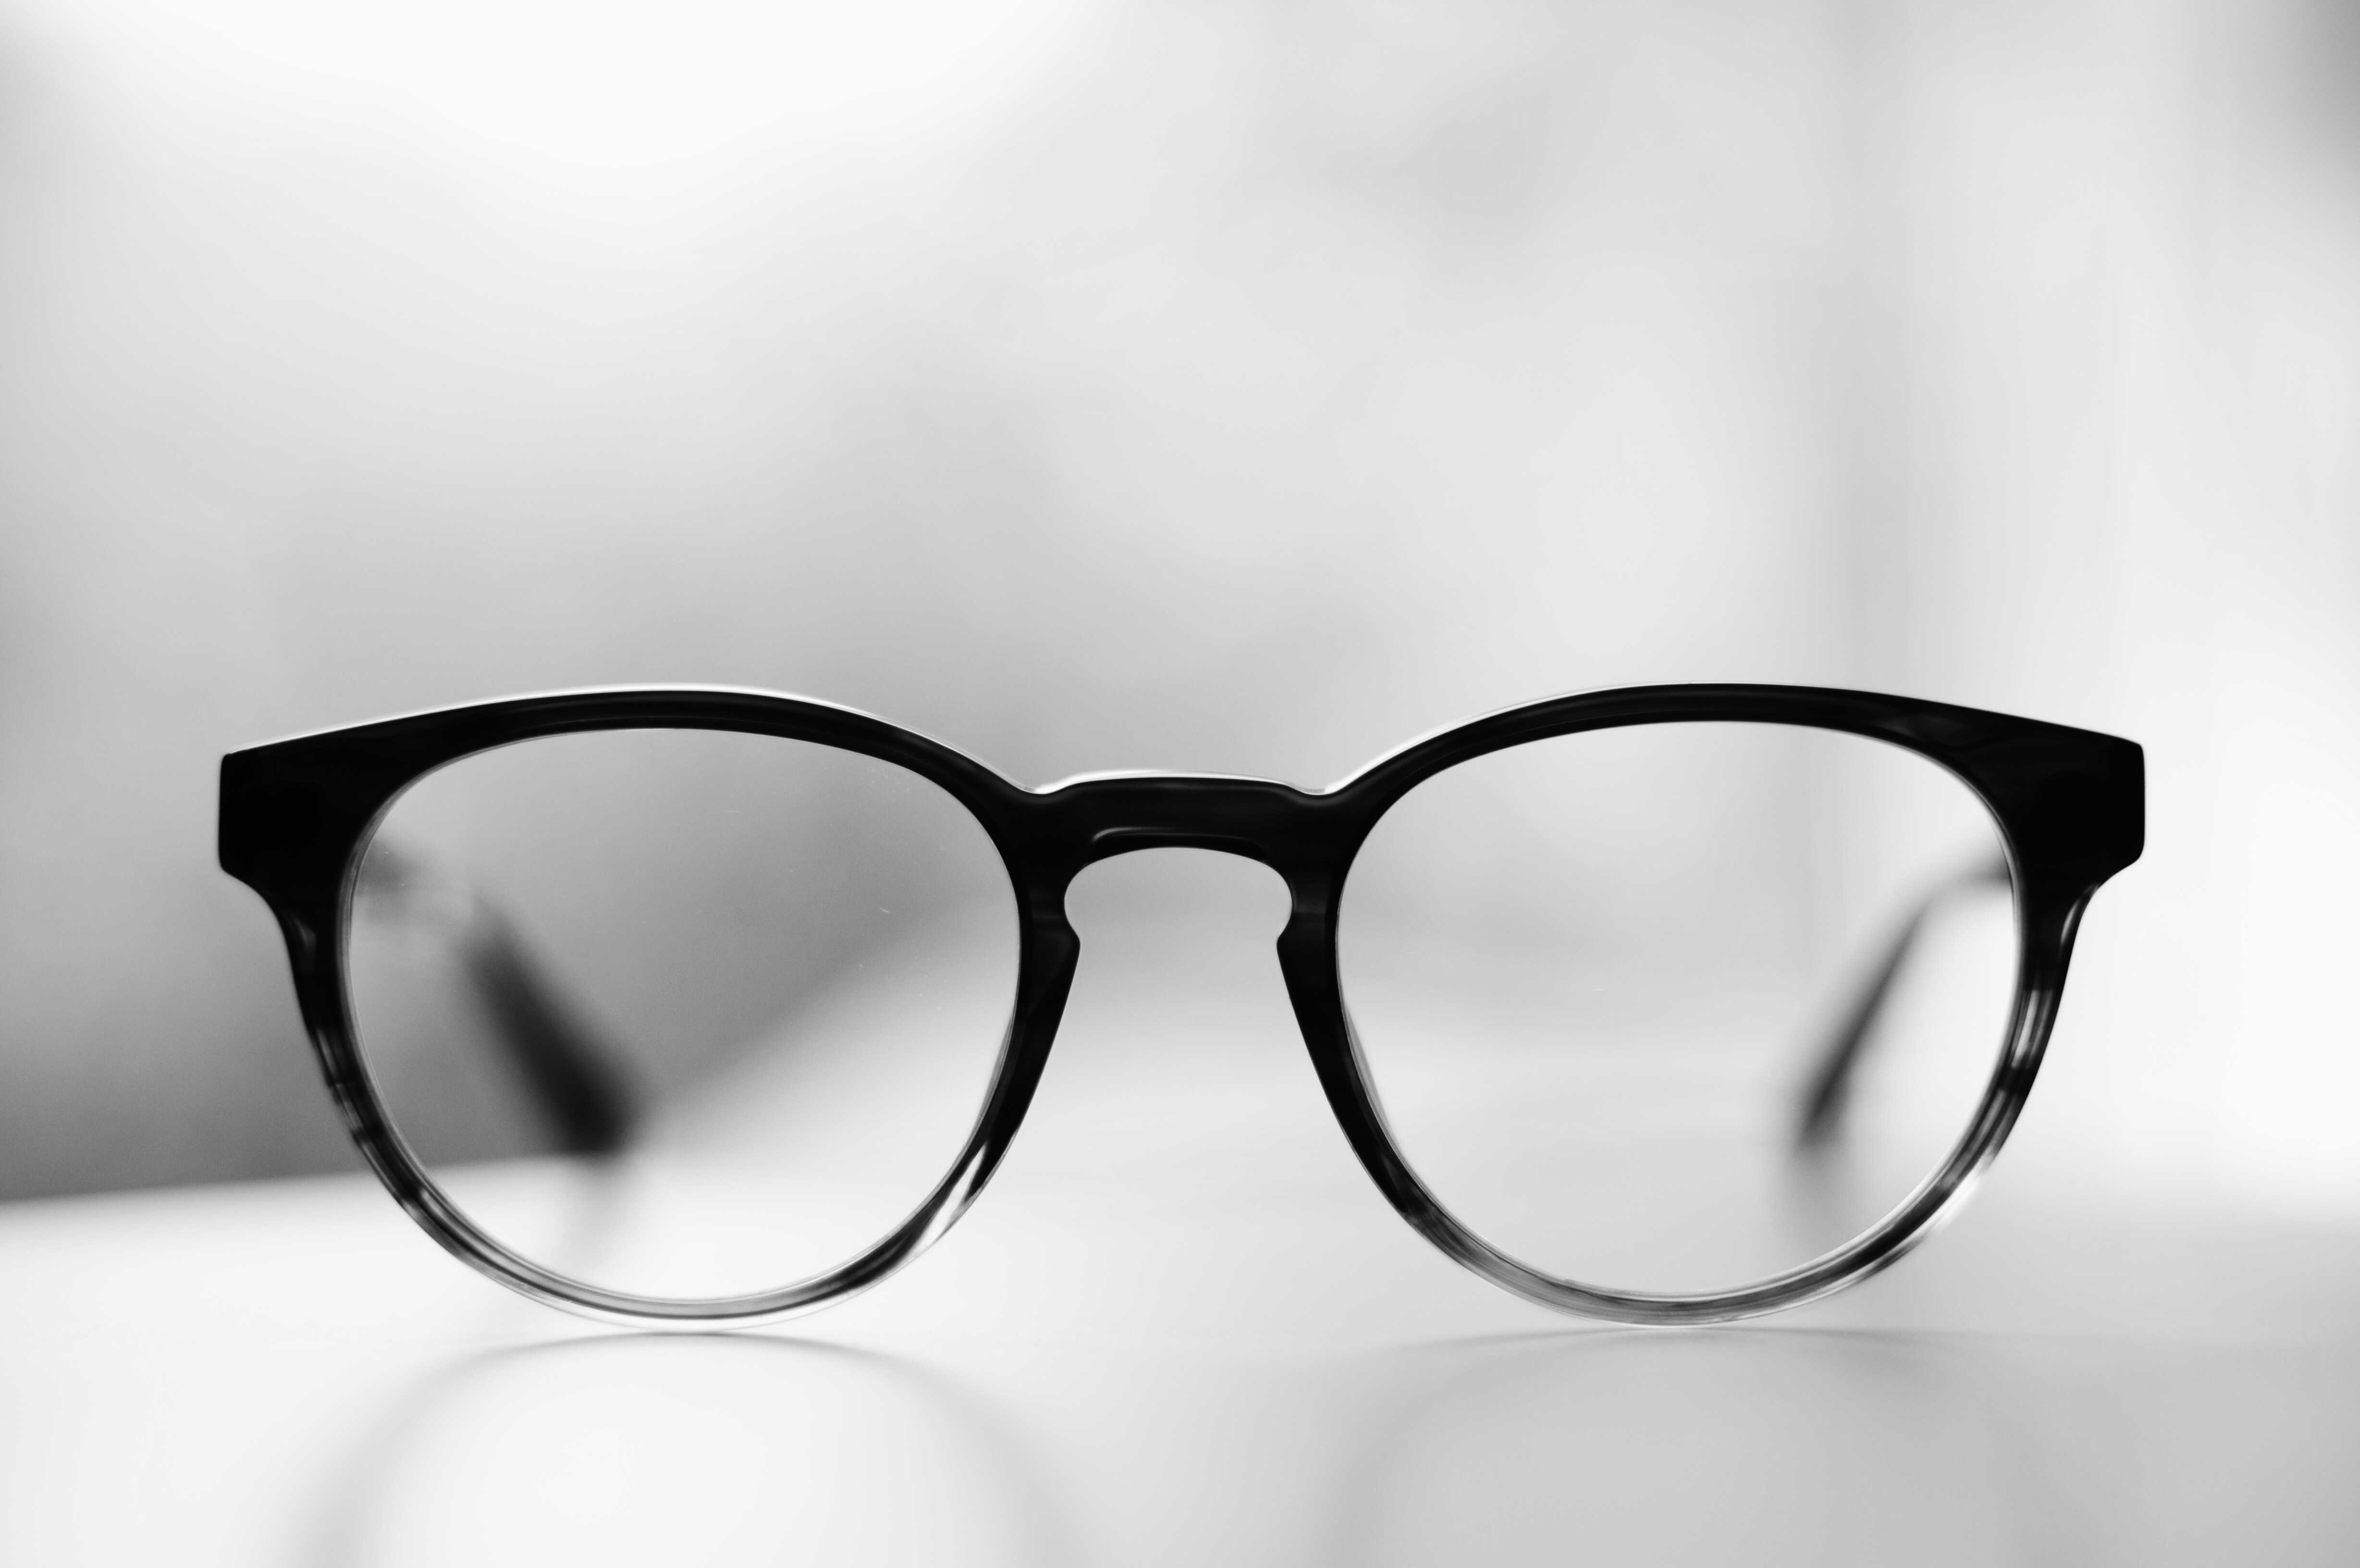
Take off your glasses about 15 minutes before the photo so that any marks left on your nose and temples have time to fade. In most countries, glasses and hats aren’t allowed in passport photos at all, or their use is at least discouraged. Reflections on eyeglass lenses or frames partly covering the eyes are a common reason photos get rejected.
5. Wear a collared shirt in a color darker than the background
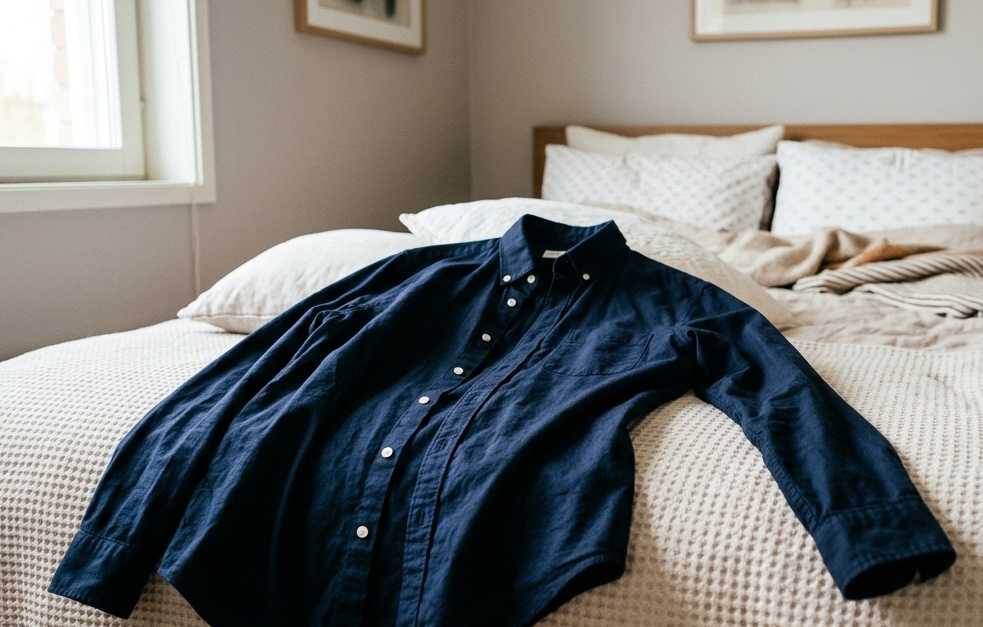
Even though the photo only shows your face, shoulders, and collar besides your face, your shirt still matters.
- Use contrast. Avoid light-colored shirts. They blend into the light background of a passport photo.
- Choose a neat collar. A collared shirt or a neat t-shirt works well.
6. Sleep well and arrive feeling fresh
Tiredness shows on your face. If you want to look fresh, avoid coming in for your photo right after work in the afternoon, for example, if that’s when you tend to feel tired. The best time is whenever you’re normally at your most alert.
A good time for the shoot can be right after exercising, once you’re energized and have just showered.
At the studio
The rest comes down to a few minutes in the photographer’s chair.
7. Let the photographer guide you
The setup is already in place: chair height, floor markers, and light direction have all been worked out beforehand. It’s not a fashion shoot, but the photographer will guide you if needed.
8. Take a breath and straighten your posture
Breathe in, pull your shoulders back, and straighten your spine.
9. Check the photo and ask for a retake if needed
A professional studio will take several shots right away if needed and show you the best option on the screen. If you don’t like the first photo, feel free to ask for a retake. It’s a normal part of the service, not a special request.
Why a professional studio is worth it
Your own preparation affects how you look in the photo. The rest is up to the professional:
- Technical quality. Lighting, background, positioning, resolution, and file format all meet the requirements.
- Knowledge of the rules. The photographer knows, or checks, the photo requirements.
- Chance for a retake. You see the photo right away and can ask for a new shot if something about it doesn’t work.
Prepare with these tips, and your shoot will go smoothly, with a result that looks like the best version of you.